
ADempiere is a powerful open-source Enterprise Resource Planning (ERP) system built on the iDempiere/Compiere platform. It provides complete business management features including Sales, Accounting, Manufacturing, HR Management, and others. In this guide, I will walk you through the complete installation of ADempiere 3.9.4 on a fresh Ubuntu 24.04 server — from scratch to a fully working login page.
Prerequisites
- OS : Ubuntu 24.04 LTS
- RAM : 2GB minimum
- Storage : Minimum 10GB Free
System Update
In Linux, every time we install a new package, we first need to update and upgrade the system. So we update and upgrade our system using the below command.
sudo apt update && sudo apt upgrade -y
Package Installation
Now we install Java, because ADempiere work on java so we require to install java. Here we install OpenJDK 11 using below command.
sudo apt install -y wget curl unzip openjdk-11-jdk postgresql postgresql-contrib
Verify Java installation:
java -version
Expected Output: openjdk version "11.0.x"
Apache Tomcat 9 Setup
When we install ADempiere on an Ubuntu server, ADempiere requires Apache Tomcat as its application server. First, change the directory, then download Tomcat 9, then rename it and change ownership.
cd /opt
sudo wget https://archive.apache.org/dist/tomcat/tomcat-9/v9.0.98/bin/apache-tomcat-9.0.98.tar.gz

sudo tar -xzf apache-tomcat-9.0.98.tar.gz

sudo mv apache-tomcat-9.0.98 tomcat

sudo chown -R $USER:$USER /opt/tomcat

sudo bash -c 'chmod +x /opt/tomcat/bin/*.sh'
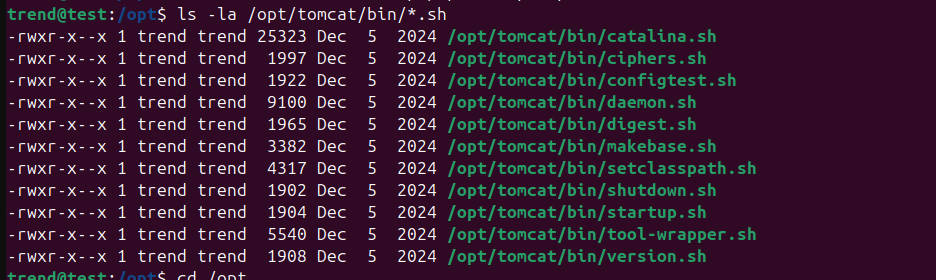
Now we verify:
ls -la /opt/tomcat/bin/*.sh
Then output show like below image.
Download ADempiere 3.9.4
In this step, we download ADempiere 3.9.4 using the below commands and change their permissions as well.
cd /opt
sudo wget https://github.com/adempiere/adempiere/releases/download/3.9.4/Adempiere_394LTS.zip

sudo apt install -y unzip

sudo unzip Adempiere_394LTS.zip

sudo chown -R $USER:$USER /opt/Adempiere
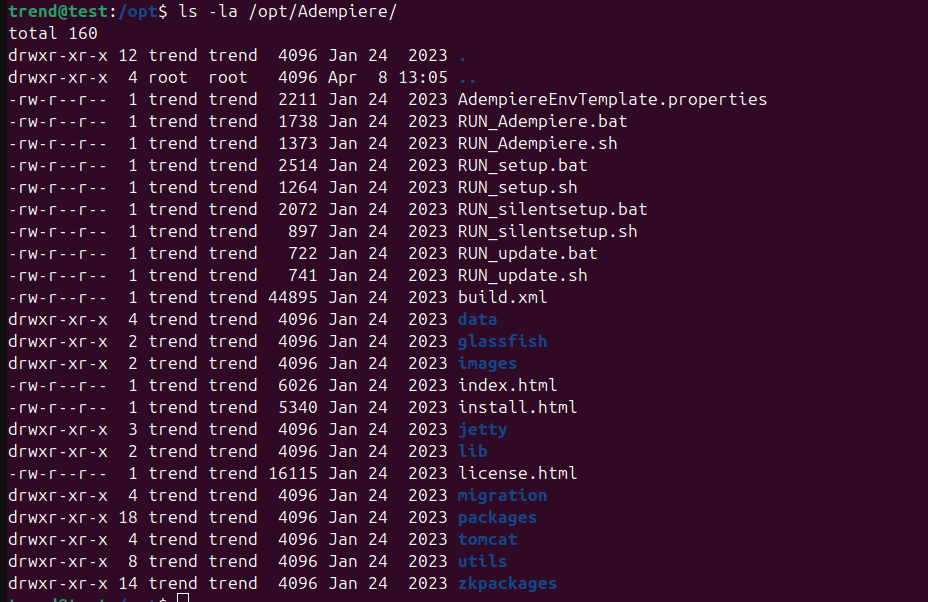
Now we verify:
ls -la /opt/Adempiere/
Then output show like below image.
PostgreSQL Database Setup
Fix Locale First
sudo sed -i "s/#en_US.UTF-8 UTF-8/en_US.UTF-8 UTF-8/" /etc/locale.gen
sudo locale-gen en_US.UTF-8
sudo systemctl restart postgresql
Create Database and User
In Linux, we always create a new user for a new installation. So here we create a new user for ADempiere. If you want to use the same password, you can change your ADempiere login password after logging in.
sudo -u postgres psql << 'EOF'
CREATE USER adempiere WITH PASSWORD 'adempiere';
CREATE DATABASE adempiere
    OWNER adempiere
    ENCODING 'UTF8'
    LC_COLLATE 'en_US.UTF-8'
    LC_CTYPE 'en_US.UTF-8'
    TEMPLATE template0;
GRANT ALL PRIVILEGES ON DATABASE adempiere TO adempiere;
\q
EOF
Verify Database
export PGPASSWORD=adempiere
psql -U adempiere -h localhost -p 5432 -d adempiere -c "\l"
Then output show like below image.
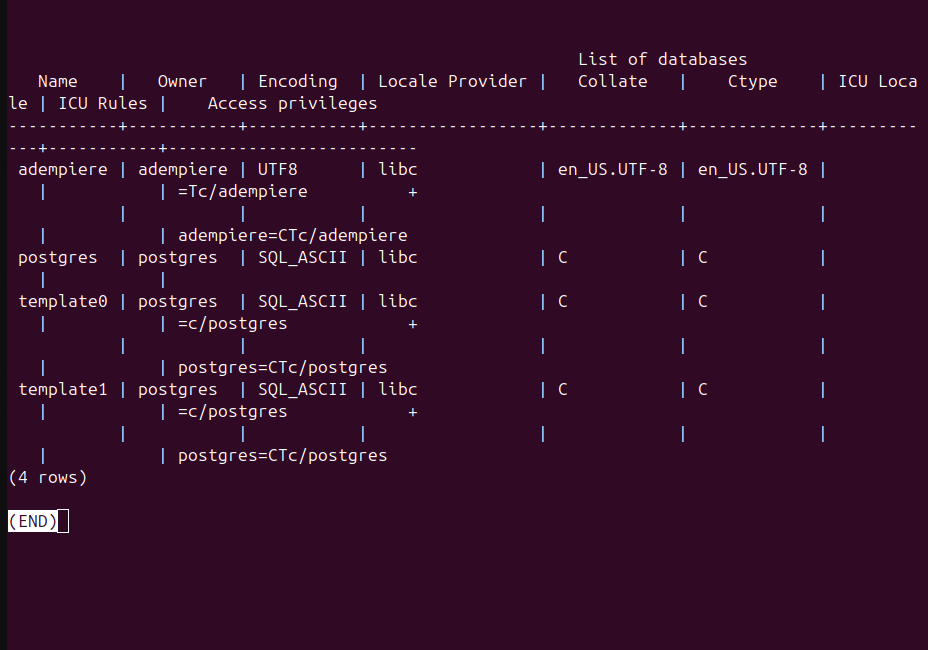
Then press q to exit.
Import Seed Data
ADempiere comes with seed data that needs to be imported using the below commands. In this step, if you did not use the same password, then change it. When you apply this step, it may show many errors, but that is normal.
cd /opt/Adempiere/data

export PGPASSWORD=adempiere
psql -U adempiere -h localhost -p 5432 -d adempiere -f /opt/Adempiere/data/Adempiere_pg.dmp
Note: Many warnings will appear during import — this is completely normal!
Verify import:
psql -U adempiere -h localhost -p 5432 -d adempiere -c "SELECT COUNT(*) FROM ad_table;"
Expected output:
 count
-------
  1117
Configure ADempiere Env. Properties
In this step, the commands set your ADempiere's environment properties. All configurations are set with one command.
cat > /opt/Adempiere/AdempiereEnv.properties << 'EOF'
ADEMPIERE_HOME=/opt/Adempiere
JAVA_HOME=/usr/lib/jvm/java-11-openjdk-amd64
ADEMPIERE_JAVA_TYPE=oracle
ADEMPIERE_JAVA_OPTIONS=-Dfile.encoding=UTF-8 -Xms128m -Xmx1024m --add-exports java.base/jdk.internal.misc=ALL-UNNAMED --add-opens java.base/java.lang=ALL-UNNAMED
ADEMPIERE_DB_TYPE=PostgreSQL
ADEMPIERE_DB_PATH=PostgreSQL
ADEMPIERE_DB_SERVER=localhost
ADEMPIERE_DB_PORT=5432
ADEMPIERE_DB_NAME=adempiere
ADEMPIERE_DB_SYSTEM=postgres
ADEMPIERE_DB_USER=adempiere
ADEMPIERE_DB_PASSWORD=adempiere
ADEMPIERE_APPS_TYPE=tomcat
ADEMPIERE_APPS_PATH=/opt/tomcat
ADEMPIERE_APPS_SERVER=0.0.0.0
ADEMPIERE_APPS_DEPLOY=/opt/Adempiere/tomcat/webapps
ADEMPIERE_JNP_PORT=1099
ADEMPIERE_WEB_PORT=8888
ADEMPIERE_SSL_PORT=4444
ADEMPIERE_KEYSTORE=/opt/Adempiere/keystore/myKeystore
ADEMPIERE_KEYSTOREWEBALIAS=adempiere
ADEMPIERE_KEYSTORECODEALIAS=adempiere
ADEMPIERE_KEYSTOREPASS=myPassword
ADEMPIERE_CERT_CN=0.0.0.0
ADEMPIERE_CERT_ORG=ADempiere Bazaar
ADEMPIERE_CERT_ORG_UNIT=AdempiereUser
ADEMPIERE_CERT_LOCATION=myTown
ADEMPIERE_CERT_STATE=CA
ADEMPIERE_CERT_COUNTRY=US
ADEMPIERE_MAIL_SERVER=0.0.0.0
[email protected]
ADEMPIERE_MAIL_USER=
ADEMPIERE_MAIL_PASSWORD=
ADEMPIERE_FTP_SERVER=0.0.0.0
ADEMPIERE_FTP_PREFIX=my
ADEMPIERE_FTP_USER=anonymous
[email protected]
ADEMPIERE_VERSION=ADempiere Foundation Release 3.9.4
IMPLEMENTATION_VERSION=3.9.4
IMPLEMENTATION_VENDOR=ADempiere Foundation
EOF
Run Silent Setup
Now we change file permissions.
chmod +x /opt/Adempiere/utils/*.sh
chmod +x /opt/Adempiere/RUN_silentsetup.sh
After this we Run Setup using below commands and this setup take some minutes.
cd /opt/Adempiere
bash RUN_silentsetup.sh
Fix server.xml
sudo sed -i 's|@ADEMPIERE_DB_URL@|jdbc:postgresql://localhost:5432/adempiere?encoding=UNICODE|g' /opt/Adempiere/tomcat/conf/server.xml
Verify using below command:
grep -i "jdbc" /opt/Adempiere/tomcat/conf/server.xml
Start ADempiere Server
cd /opt/Adempiere/utils
bash RUN_Server2.sh
Then verify using below command:
sleep 60
ss -tlnp | grep java
Expected output:

Access ADempiere
Open your browser and navigate to:
http://YOUR_SERVER_IP:8888/adempiere
Then wait for the home page to open, as shown in the below image.

Finally, ADempiere has been successfully installed on the Ubuntu server.
