
Building a homelab using Coolify is best for you. If you want to check whether your web application or blog website is up or down, you need to install Uptime Kuma. So in this article, we will understand how to build a homelab with Coolify.
In this article, we are skipping how to install Coolify. So here we are starting to build a Homelab step by step.
Create a Project in Coolify
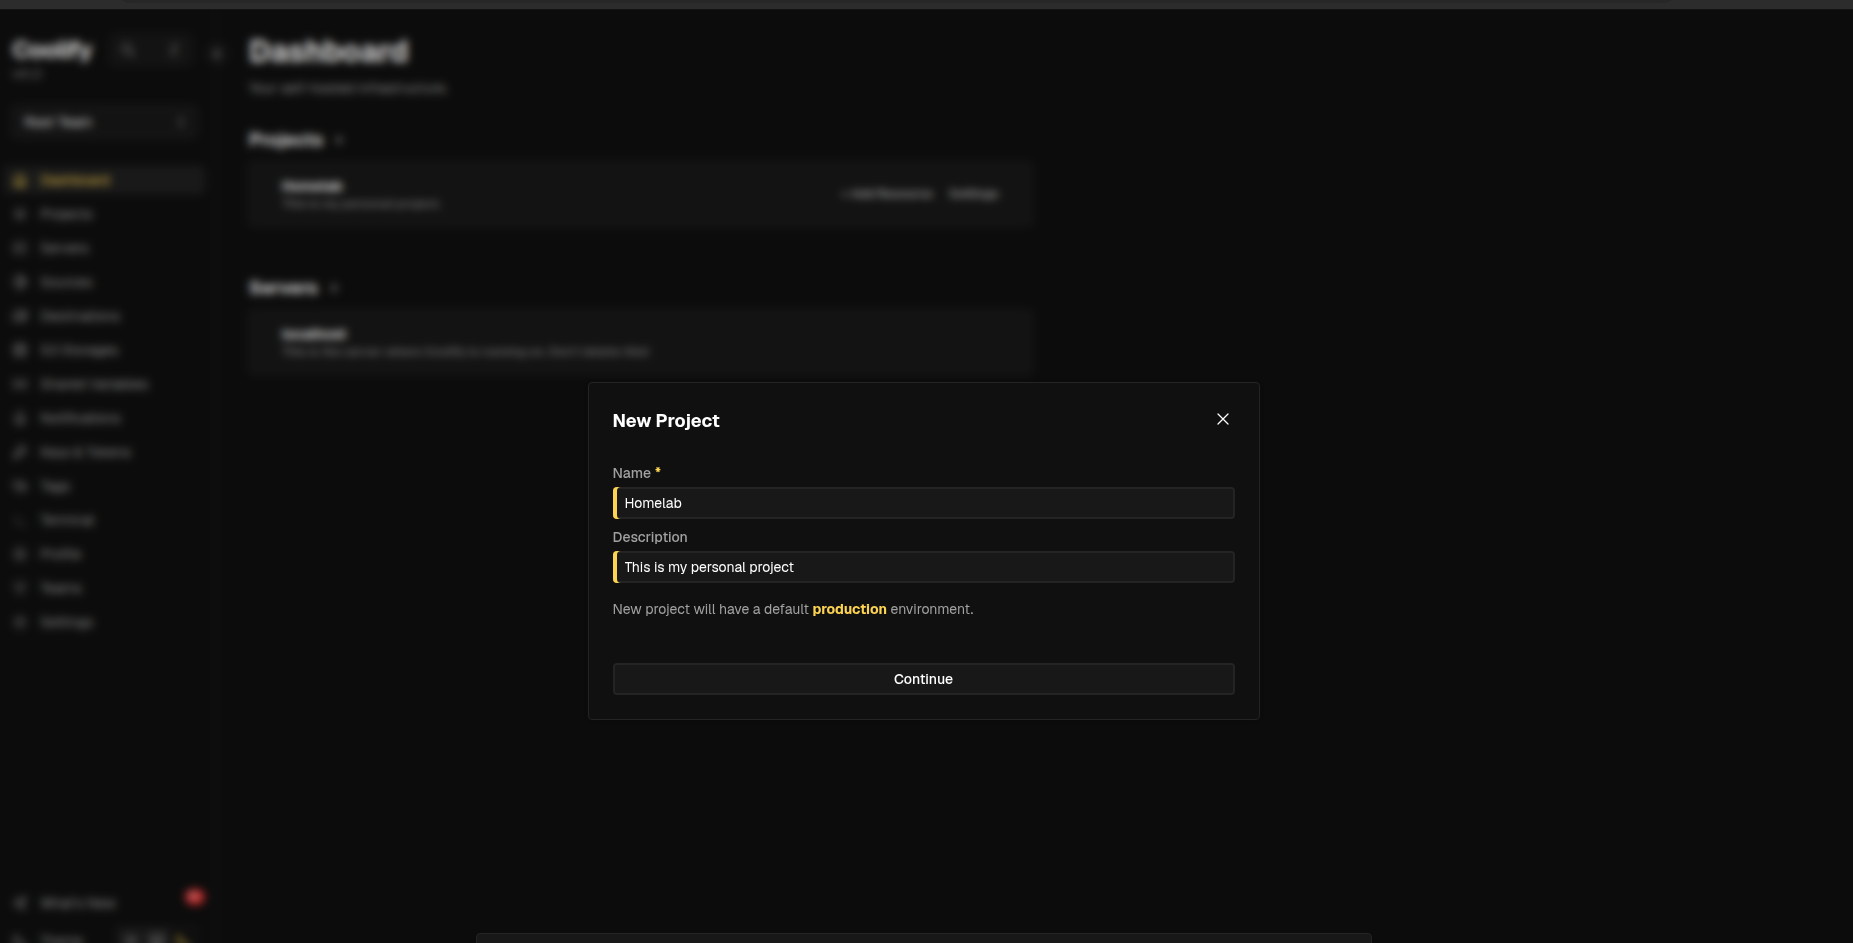
First, open your Coolify using your VM's IP, e.g. http://192.168.51.123:8000. Then open your Coolify dashboard and find Projects from the sidebar and click Add New. When the new page opens, name your new project, where you write your project name like "Homelab" and also write a description like "This is my personal project." Then click on Continue.
Deploy Your First App
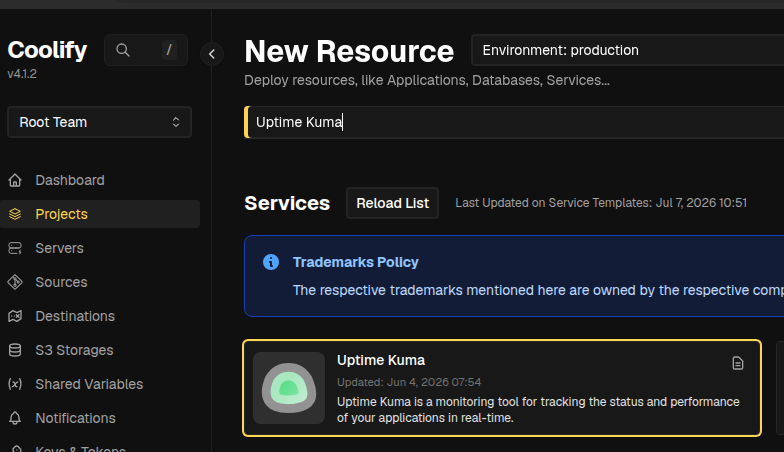
After creating the Homelab project, click on it to open a new page and find Add Resource, then click on Add Resource. Then search for Uptime Kuma on the new page and it will show you Uptime Kuma. Click on Uptime Kuma, and when you click on it, a new slide will open. Find the Deploy button on your right side and click on it. Your Uptime Kuma will then be deployed.
Configure the App and Domains
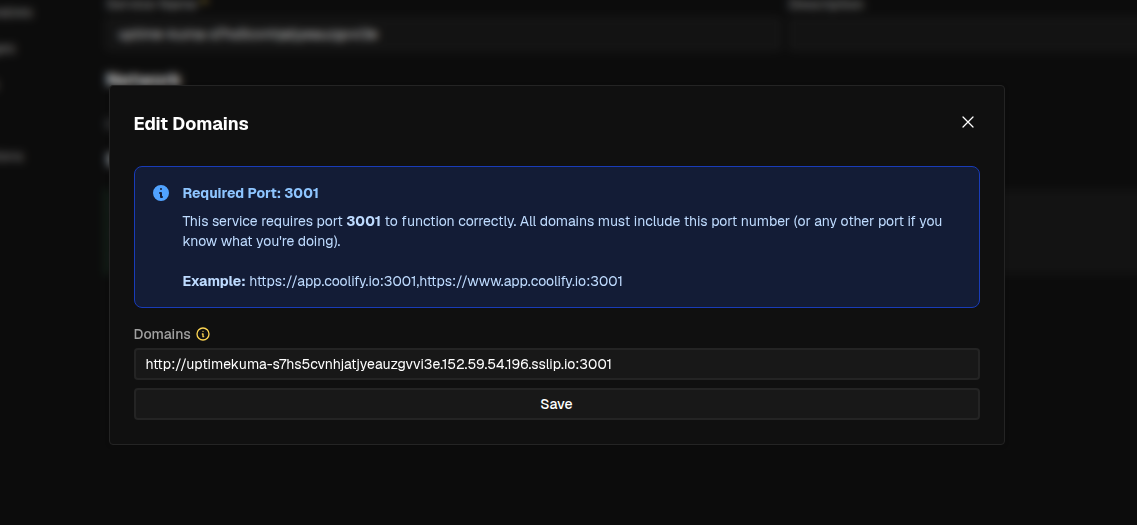
After successfully deploying Uptime Kuma, go to General, click on Services, and when you see the existing entry as shown in the image, remove it and add http://coolify.yourdomain.com:3001. This step helps you when you are not connected to the same Wi-Fi network. After this setup, restart your Uptime Kuma.
Bypass CGNAT with Cloudflare Zero Trust
Your local ISP network is blocking ports, which is why you need to create a Cloudflare Tunnel. When we installed Coolify, we also followed this step, but if you didn't follow that step, we will understand it here.
Log into your Cloudflare account and navigate to the Networking dashboard. Click on Create a tunnel and name it "Homelab". Then select it, and Cloudflare will give you a long installation command. Look closely at that command and copy only the token.
Deploy Cloudflared in Coolify
Now we need to connect Coolify to that newly created tunnel. For that, go back to your Coolify Project and click on New Resource, then click on One-click Services. Now search for Cloudflared and add it to your project. In the configuration settings for this Cloudflared container, paste the token you copied from Cloudflare into the designated environment variable field. Click Deploy. Your Coolify server is now securely bridged to Cloudflare's edge network.
Map Your Public Domain
Finally, let's route your public web traffic directly to Uptime Kuma.
- Go back to your Tunnel settings in Cloudflare Zero Trust.
- Click the Public Hostname tab and add a new hostname.
- Enter your desired subdomain (e.g., uptime.yourdomain.com).
- For the service type, select HTTP, and enter your Coolify server's local IP and Uptime Kuma's internal port (e.g., 192.168.51.123:3001).
- Save the hostname.
The Result
You have successfully deployed Coolify. Now you can visit coolify.yourdomain.com from anywhere in the world. It is secured through Cloudflare, bypassing your ISP's CGNAT. No port forwarding, no static IP headaches required.
