
The homelab community has been asking for this for years. On August 5th, Proxmox finally dropped official, full-featured support for the ARM64 architecture. We are not talking about an experimental fork or a stripped-down best-effort release—this brings complete feature parity to ARM. KVM, LXC, ZFS, Ceph clustering; it all works exactly like it does on x86.
How you actually install it, though, depends heavily on your hardware. Installing Proxmox ARM64 on an enterprise server is completely different from getting it running on a Raspberry Pi. Here is exactly how to do both.
Production Deployments: Enterprise ARM64 Hardware
If you are deploying this for production, you need enterprise-class hardware. Proxmox explicity targets servers running Ampere Altra, NVIDIA Grace, or NVIDIA Vera chips.Your server has to boot via standard UEFI and use ACPI for hardware discovery. Proxmox does not officially support device-tree only boards for production.
How to install it:
These servers follow the standard x86 boot process, so the installation is exactly what you are already used to. This installation does not need any command-line hacks.
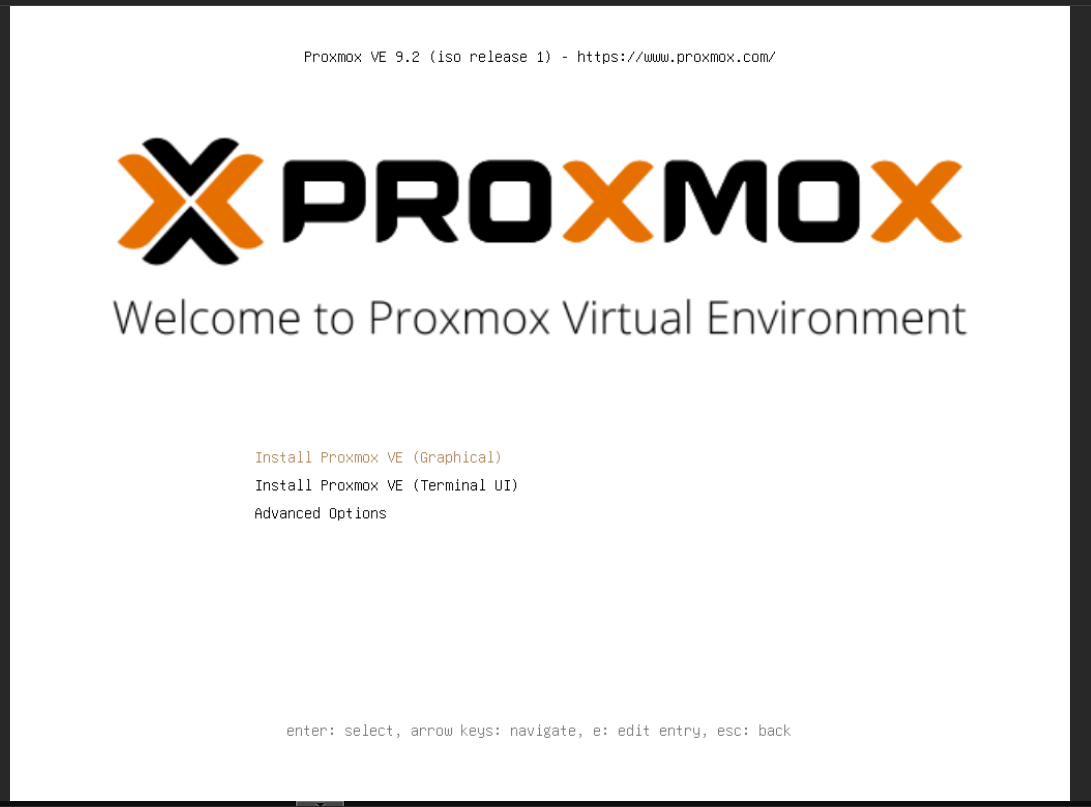
First, go to the Proxmox official page, navigate to the download section, and select the ARM64 Proxmox ISO. Then flash it to a USB drive with Rufus or BalenaEtcher. Boot the server from the USB. Next, when the installation starts, the first screen will open as shown below. Select Install Proxmox VE (Graphical).
Walk through the standard wizard to set up your ZFS pools, network bridge, and root password.
This setup is done. You can even buy and apply commercial enterprise support subscriptions directly to these ARM nodes.
Homelab Deployments: The Raspberry Pi 5 Workaround
If you want to build a low-power cluster out of Raspberry Pi 5s, you will immediately face a problem. The official bare-metal ISO won't boot on a Pi. It lacks the specific proprietary drivers needed for the onboard network and NVMe controller.
To bypass this, we need to take another approach. We install Raspberry Pi OS Lite as the base layer to keep the proprietary hardware drivers. Then we pull the Proxmox packages directly from the APT repository on top of it.
Prepare the Base OS
Flash Raspberry Pi OS Lite (64-bit) to your microSD card or NVMe drive. Boot it up, connect via SSH, and install the prerequisites.
sudo apt update && sudo apt upgrade -y
sudo apt install wget ca-certificates gnupg -y
Add the Proxmox Repository
We need to pull down the official Proxmox Trixie release key so Debian trusts the packages.
wget -O /tmp/proxmox-archive-keyring-trixie.gpg https://enterprise.proxmox.com/debian/proxmox-archive-keyring-trixie.gpg
sudo mv /tmp/proxmox-archive-keyring-trixie.gpg /usr/share/keyrings/
Debian 13 (Trixie) uses the newer deb822 format for repositories. Add it by creating a new file:
sudo nano /etc/apt/sources.list.d/proxmox.sources
Paste the block below into this configuration file.
Types: deb
URIs: http://download.proxmox.com/debian/pve
Suites: trixie
Components: pve-no-subscription
Signed-By: /usr/share/keyrings/proxmox-archive-keyring-trixie.gpg
Save this file using (Ctrl+O, Enter, Ctrl+X). Then update APT to lock it in.
sudo apt update
Install Proxmox (Without Breaking Your Kernel)
This is the single most important step. If you run a standard apt install proxmox-ve, APT will try to replace the custom Raspberry Pi kernel with the generic Proxmox kernel.If that happens, your Pi won't boot.
You need to use the --no-install-recommends flag to block the kernel swap.
sudo apt --no-install-recommends install pve-manager pve-qemu-kvm qemu-server pve-container
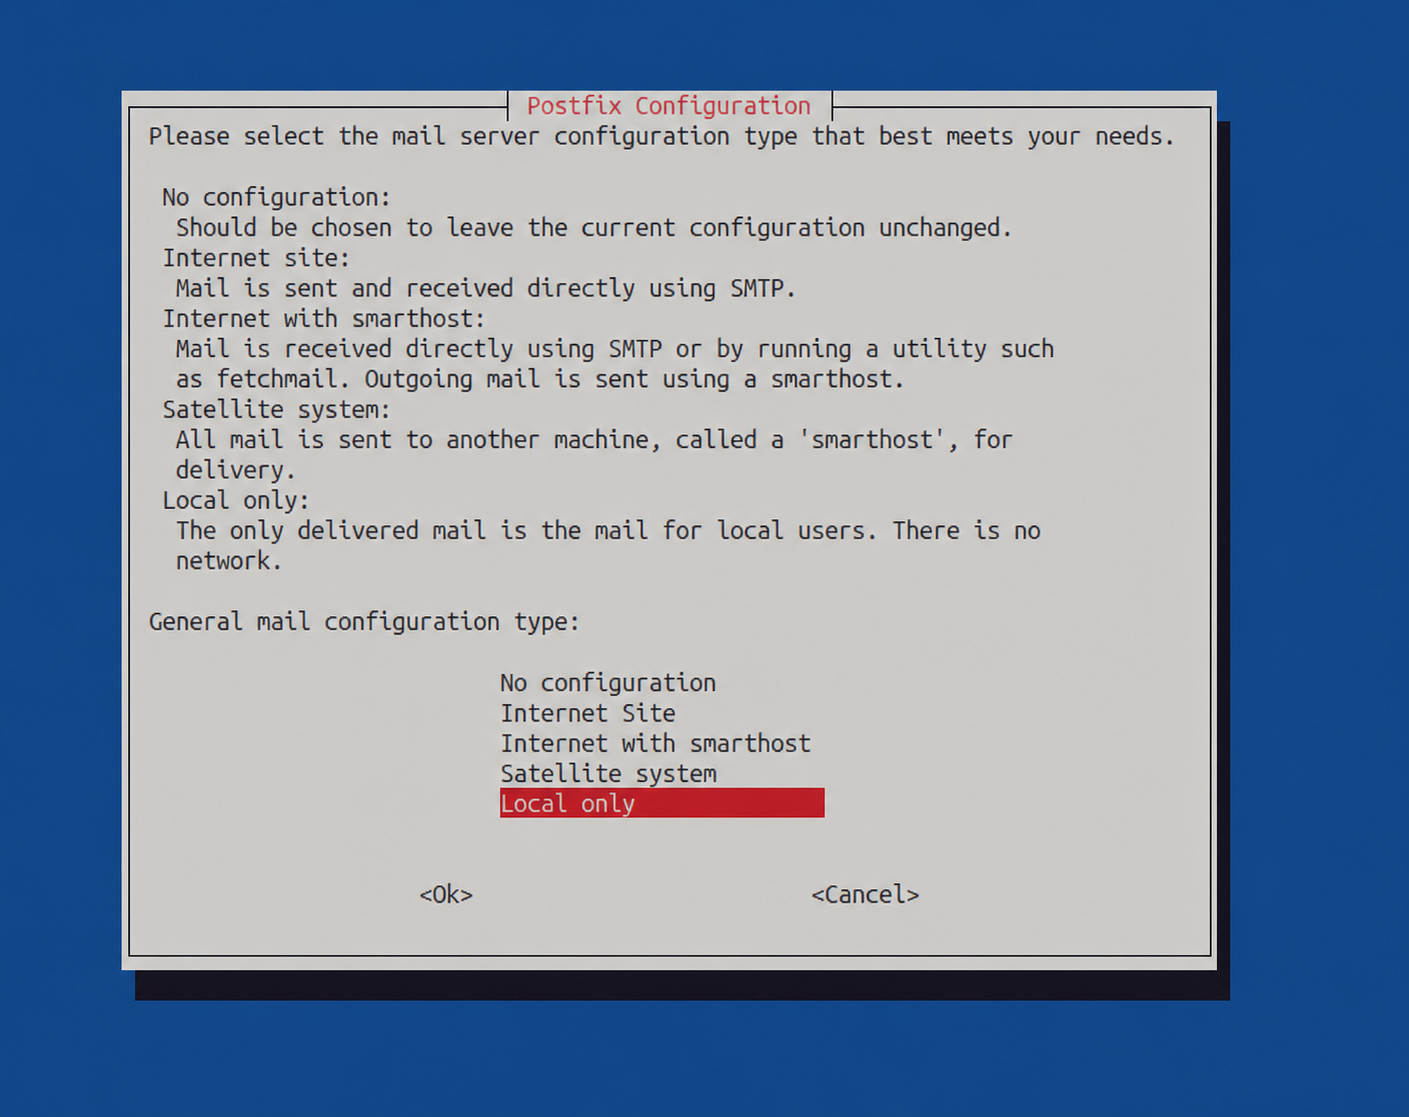
During this process, the installer will pop up a blue Postfix configuration screen. Just select "Local only" and hit Enter.
The /etc/hosts Trap
If you stop right here and try to load the web interface, it will time out.
Proxmox needs a fully qualified domain name (FQDN) mapped to an IPv4 address to generate its SSL certificates. Normally, the Pi just names itself pi and relies heavily on IPv6. If you don't fix this, the pveproxy web workers crash instantly in an endless loop.
Find your Pi's IPv4 address by running ip a. Then, edit your /etc/hosts file (you need to replace 172.16.0.4 with your actual IP).
sudo nano /etc/hosts
Paste the block below, but replace 172.16.0.4 with your actual IP.
127.0.0.1       localhost
172.16.0.4      pi.lan pi
::1             localhost ip6-localhost ip6-loopback
ff02::1         ip6-allnodes
ff02::2         ip6-allrouters
Set the hostname, force Proxmox to generate the certificates, and restart the web proxy.
sudo hostnamectl set-hostname pi
sudo pvecm updatecerts -f
sudo systemctl restart pveproxy pvedaemon
Log In
Your Raspberry Pi is now a fully functional ARM64 Proxmox host.
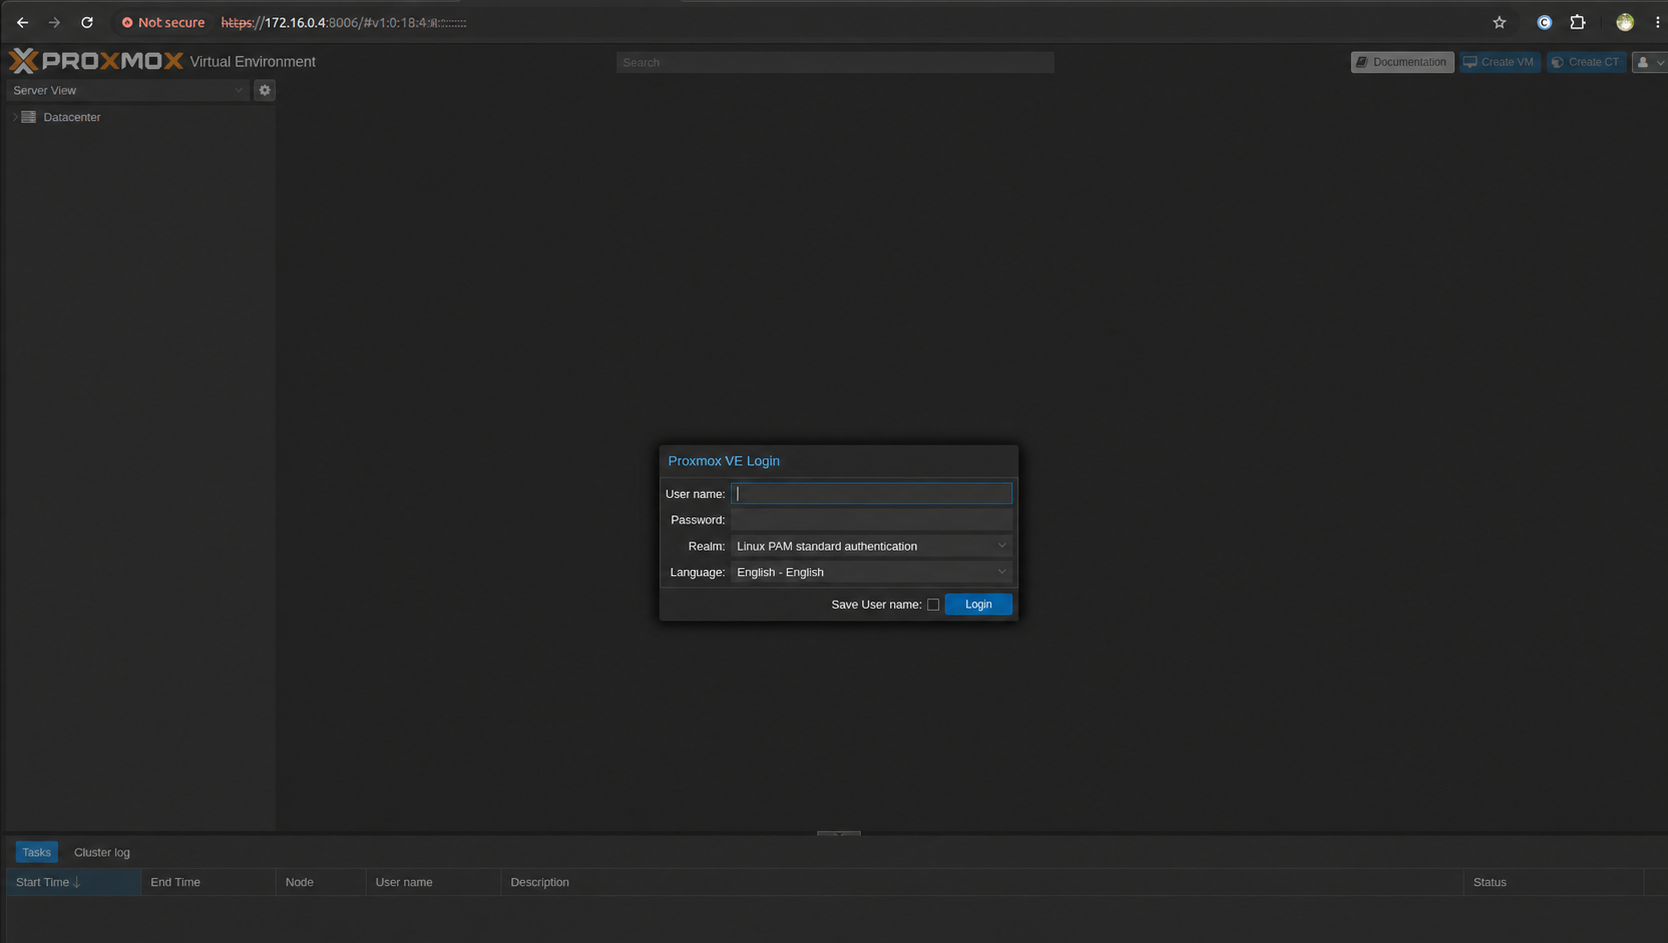
If you havenot set a root password yet, run sudo passwd root. Then open a browser and paste the link below. Replace YOUR_IP with your actual IP.
https://[YOUR_IP]:8006
Then open the home page as shown below.
Conclusion
The official ARM64 release makes Proxmox a first-class citizen on ARM, enabling efficient low-power homelab deployments. While enterprise hardware installation is as straightforward as booting from the ISO, the Raspberry Pi 5 requires a few extra steps. This guide has walked you through both scenarios so you can get up and running with either setup.
