
If you are looking for a Google Photos alternative or you need open source media backup, then try Immich. In Immich, there is no need to pay monthly and no limit to storage. You can store as many images and videos as the storage capacity of your server's VM allows.
In today's digital world, storing photos and 4K videos while paying monthly for Google Photos or Apple iCloud storage gets expensive fast. If you have an on-premises server, then you must install Immich — it is exactly like Google Photos.
In this guide, we are going deep into an Immich Proxmox setup. You can also install it on ESXi.
How to Install Immich
Now we start the installation of Immich, so follow the below step-by-step guidance.
Prerequisites
In this installation, you first need to create a VM of Ubuntu or Debian. In my guidance, the VM is created on Proxmox, but you can also create a VM on ESXi. In this guidance, the VM's operating system is Ubuntu 24.04, but you can also choose Debian. Choose at least 4 CPUs and 8GB of RAM. Select storage according to your requirement, but select a minimum of 100GB.
Then create the VM. During the installation process of your Ubuntu/Debian, make sure to enable the OpenSSH server so you can easily connect from your terminal. After successfully creating your VM, connect to your VM via SSH from your terminal so you can easily follow the commands below.
Update system
After successfully creating your VM, connect to your VM via SSH from your terminal so you can easily follow the commands below.
In any Linux distribution, if you want to install any packages or tools, you first need to update and upgrade your system. For that, run the command below in your terminal.
sudo apt update && sudo apt upgrade -y
Install Docker
Before installing Docker Compose, first we install the command-line tool curl.
sudo apt install curl -y
Run the command below for installing the official Docker automated script. This command installs all dependencies and installs Docker Compose.
curl -fsSL https://get.docker.com | sudo sh
Run Docker Without Sudo
If you try to check the Docker version after installing it, it will show a permission denied error. To fix this, run the command below before checking the Docker version. For that, run the below commands.
sudo usermod -aG docker $USER
newgrp docker
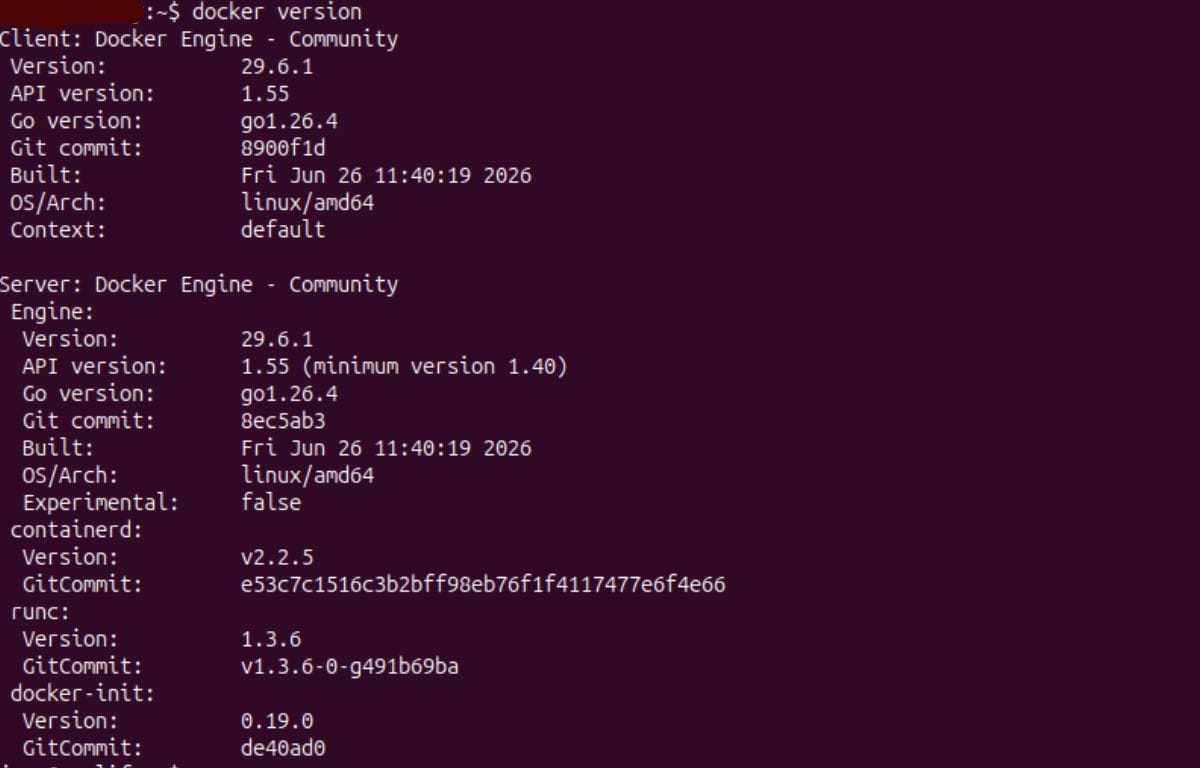
Verify the Docker version using the command below.
docker version
Expected Output:
Download Immich Configuration Files
First, we create a dedicated folder for the Docker Compose file. Immich is deployed using a docker-compose.yml file. For that, run the commands below.
mkdir ./immich-app
cd ./immich-app
wget -O docker-compose.yml https://github.com/immich-app/immich/releases/latest/download/docker-compose.yml
wget -O .env https://github.com/immich-app/immich/releases/latest/download/example.env
Configure the Environment Variables
Now, edit the .env file to set your database passwords and tell Immich where to save your photos.
nano .env
Look at the specific lines below and update them:
First, update the location. Find UPLOAD_LOCATION and change it to where you want your photos saved.
Second, change DB_PASSWORD. Here, change the PostgreSQL password and write a new password, but use only alphanumeric characters in the password — do not use special characters or spaces in this password.
Save the file using (Ctrl+X, Y, ENTER).
Spin Up the Immich Stack
To apply your configuration and start everything up, run the command below.
sudo docker compose up -d
The above Docker command will pull the Immich server, machine learning container, Redis, and PostgreSQL database, so this may take some time.
Accessing Immich on Your Local Network
Open your browser and navigate to your VM's IP on port 2283 as shown below.
http://YOUR_SERVER_IP:2283
Replace YOUR_SERVER_IP with your server's VM IP. Then open the Immich home page as shown in the image below.
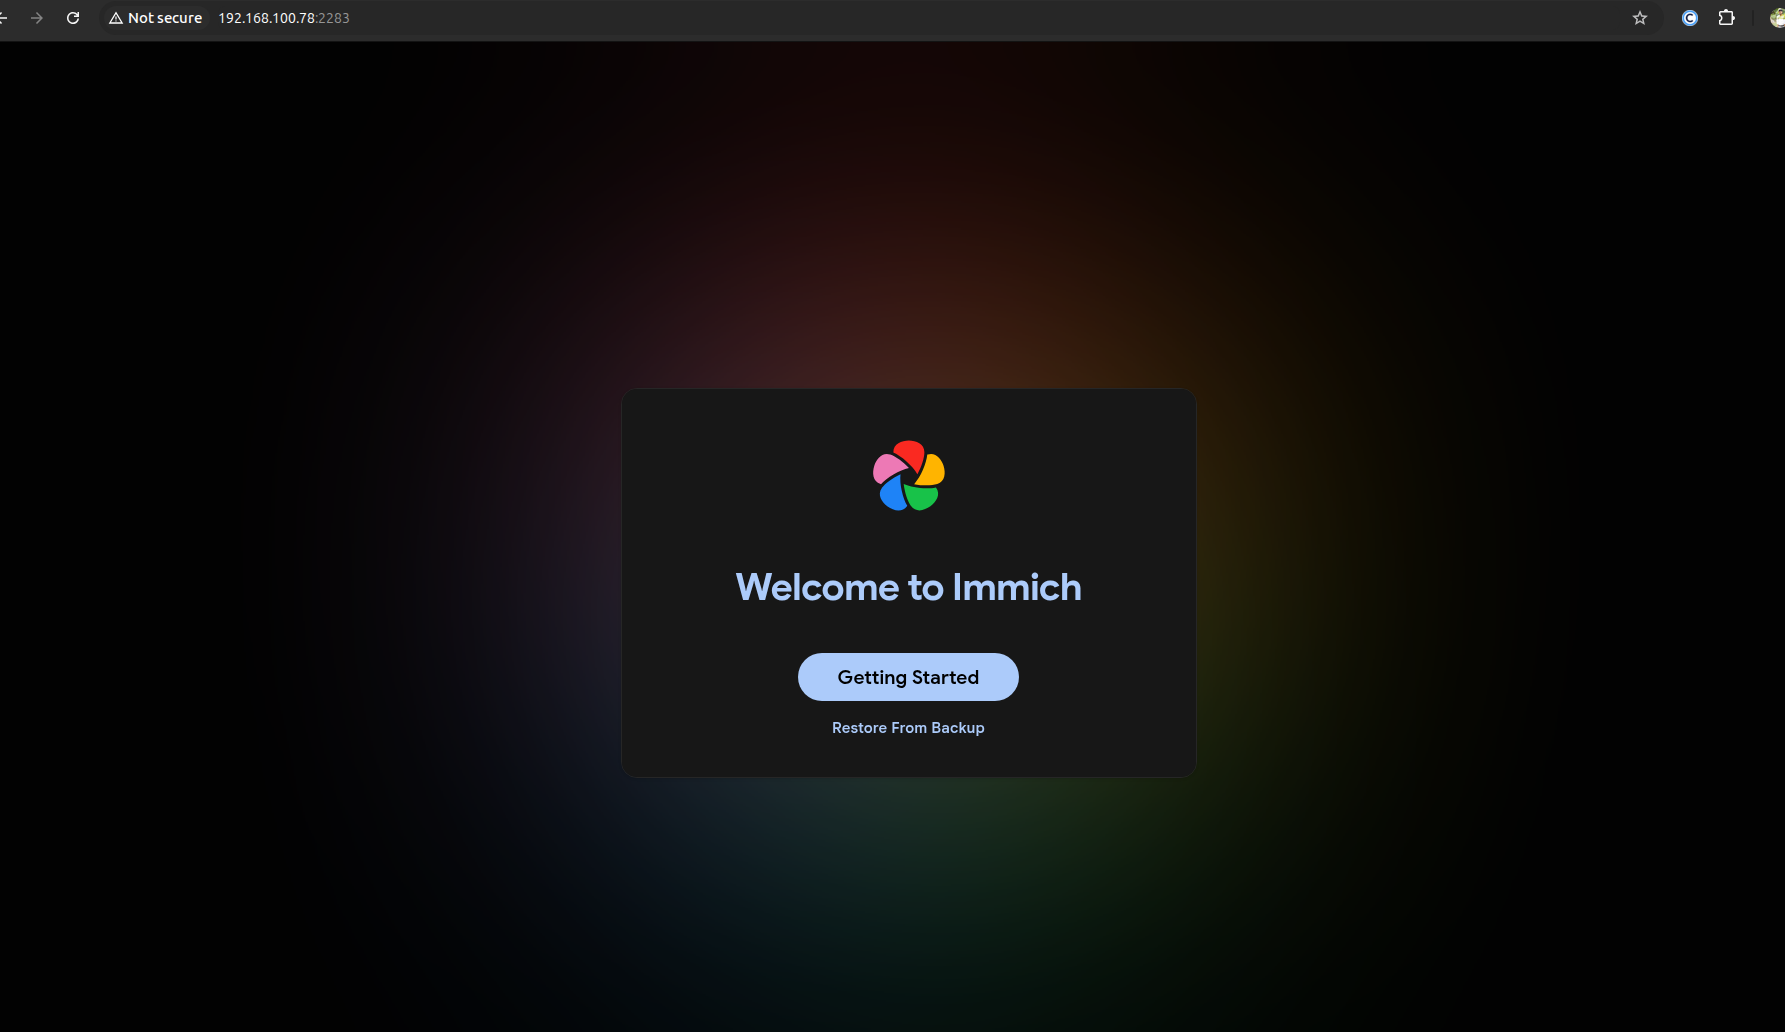
Then click on Getting Started to open a new page where you can create your admin account and log in.
Remote Access
If your homelab uses your local Wi-Fi network, you will not be able to access Immich when you are away from home. The best solution for that is to create a Cloudflare Tunnel.
Download the Mobile App
The magic of Immich is its mobile app. This application is available on the Apple App Store or Google Play Store, so you can download it from there. After downloading the application, you will first need your IP address, so enter your VM's IP like http://192.168.55.55:2283. Then enter the admin credentials you created when logging in via the browser. Your mobile will then have the same access as your browser. If you don't create a Cloudflare Tunnel, your server and mobile must be connected to the same network for Immich to work on both.
Why use Immich?
Immich works exactly like Google Photos. You can easily back up or store your media. The Immich mobile app also works smoothly, so you can back up with your mobile.

You can also back up videos on it. Large image albums upload easily on Immich. Its upload and download speeds are very fast.
Conclusion
Installing Immich on a Proxmox server is incredible. An Immich Proxmox setup works very fast and the installation is easy. Ditching Google Photos and choosing the open source, self-hosted Immich is the best option for backing up unlimited data without paying monthly subscription fees. Its mobile application is another outstanding feature. You can choose Immich over Google Photos and Apple iCloud storage — it's actively developed, lightning-fast, and packed with machine learning capabilities.
