
ERPNext version 15 install on Ubuntu Server 22.04. ERPNext is an open-source tool. ERPNext is a free and open-source integrated tool. This is totally free and there are no hidden costs for this tool. So we install ERPNext on an Ubuntu server. Installing ERPNext on an Ubuntu server is a multi-step journey that involves setting up the Frappe Framework, which acts as the engine for ERPNext.
Prerequirement
- RAM : minimum 4GB
- CPU : 4 cores
- STORAGE : 40 GB
- OS : Ubuntu 22.04
System Preparation
Before installation starts, we require our system to be up to date. For system update and upgrade, follow this command. If you follow my commands, then enter one command at a time. Sometimes, if you select all commands and paste them, it may not work.
sudo apt update && sudo apt upgrade -y
Create New User For ERPNext
In Linux, it is not recommended to run applications as the root user. So we create here our new user for ERPNext. Here we create user frappe. You can choose your username according to your work. Replace here frappe with your username.
sudo adduser frappe
sudo usermod -aG sudo frappe
su frappe
cd /home/frappe
Install Required Packages
Erpnext required several system packages. So here we install requie all packeges.
First we install GIT
sudo apt-get install git -y
Install Python
ERPNext version 15 requires Python 3.11+ version and Ubuntu 24.04 comes with Python 3.12 as the default version. So we install here python 3.12 version.
sudo apt-get install python3-dev -y
sudo apt-get install python3-setuptools python3-pip -y
sudo apt install python3.12-venv -y
Install pkg-config and Build Dependencies
For installation all commands copy and paste on your terminal.
sudo apt-get install -y \
    pkg-config \
    libmariadb-dev \
    libmariadb-dev-compat \
    build-essential \
    libssl-dev \
    libffi-dev
MariaDB Install and Configuration
MariaDB is a free open source tool, which is used for database management systems. Here we install the MariaDB SQL tool. In this step all commands use one by one.
Install MariaDB
sudo apt-get install software-properties-common -y
sudo apt install mariadb-server -y
sudo mysql_secure_installation
When you enter sudo mysql_secure_installation this command installations aked question. Then follow below options.
Enter current password for root          : (Press Enter)
Switch to unix_socket authentication     : Y
Change the root password?                : Y
New Password                             : (Set a strong password)
Remove anonymous users?                  : Y
Disallow root login remotely?            : N
Remove test database and access to it?   : Y
Reload privilege tables now?             : Y
Configure MariaDB for UTF8MB4
sudo nano /etc/mysql/my.cnf
When you enter this command open configure of mariadb then below block enter at the end of the file.
[mysqld]
character-set-client-handshake = FALSE
character-set-server = utf8mb4
collation-server = utf8mb4_unicode_ci

[mysql]
default-character-set = utf8mb4
save the file with ctrl+X then pres Y then Enter.
Then restart Mysql service with below command.
sudo service mysql restart
Install Redis Server
Redis is a Remote Dictionary Server, which is used primarily as an application cache or quick-response database. It improves the performance of your ERPNext instance.
sudo apt-get install redis-server -y
Install Node.js, NPM and Yarn
ERPNext Version 15 comfortable with Node.js 18 LTS, so we install this node version.
Install CURL
sudo apt install curl -y
Install NVM and Node.js 18
All commands follow one by one.
curl https://raw.githubusercontent.com/creationix/nvm/master/install.sh | bash
source ~/.profile
source ~/.bashrc
nvm install 18
nvm use 18
nvm alias default 18
node --version
Install NPM
sudo apt-get install npm -y
Install Yarn
sudo npm install -g yarn -y
Install wkhtmltopdf
wkhtmltopdf is install for gernerating PDF documents in ERPNext such as a invoice, reports and purchase orders.
sudo apt-get install xvfb libfontconfig wkhtmltopdf -y
Install Frappe Bench and Ansible
Frappe Bench is the command line tool. It is used to manage ERPNext installations. So we install here Frappe Bench most important tool.
sudo -H pip3 install frappe-bench --break-system-packages
If you want to verify the Frappe Bench version, enter this command:
bench --version
It will show you the Frappe Bench version.
Install Ansible
sudo -H pip3 install ansible --break-system-packages
Initialize Frappe Bench
Now we will initialize the Frappe Bench with ERPNext Version 16. So we install latest version of ERPNext.
bench init frappe-bench --frappe-branch version-15
cd frappe-bench
Set Directory Permissions
Here replace frappe with your user name.
chmod -R o+rx /home/frappe
Create a New Site
A site is a seperate ERPNext instant with its own database. You can host multiple sites on single Frappe Bench installation. Here you replace yoursite.com with your site name.
bench new-site yoursite.com
Set your site as default:
bench use yoursite.com
Download ERPNext Apps
Here we set Payment app for ERPNext. It is most required app.
bench get-app payments
Now we download ERPNext 15 version app using below command.
bench get-app --branch version-15 erpnext
Install Apps on Your Site
Now we install above downloaded two apps.
Install ERPNext
here replace yoursite.com with your site name.
bench --site yoursite.com install-app erpnext
Now we have successfully install ERPNext version 15 on Ubuntu 22.04. You can test your server using below command.
bench start
Then open browser and search with
http://YOUR-SERVER-IP:8000
When you enter this command, your ERPNext will work, but this is intermediate, because every time when you start, you must enter the bench start command. However, when you follow the Production method, your ERPNext will work without using bench start. So here, only test ERPNext using the bench start command.
Configure Production Mode
Now we set up ERPNext for production. This will configure with Nginx. Here Nginx port take ERPNext.
bench --site yoursite.com enable-scheduler
bench --site yoursite.com set-maintenance-mode off
Install Nginx
sudo apt-get install nginx -y
Install Supervisor
here enter all commands one by one.
sudo apt-get install supervisor -y
sudo systemctl enable supervisor
sudo systemctl start supervisor
Setup Production Configuration
In below command replace frappe with your user.
sudo bench setup production frappe
Setup Nginx
bench setup nginx
Restart Supervisor
Here also replace frappe with your ERPNext user.
sudo supervisorctl restart all
sudo bench setup production frappe
Reload Nginx
sudo systemctl reload nginx
when you enter above command then found error but ignore it and move forword.
Verify Installation
For verification enter below command and show all services status.
sudo supervisorctl status
Then Output Show like below.
frappe-bench-redis:frappe-bench-redis-cache           RUNNING ✅
frappe-bench-redis:frappe-bench-redis-queue              RUNNING ✅
frappe-bench-web:frappe-bench-frappe-web                 RUNNING ✅
frappe-bench-web:frappe-bench-node-socketio              RUNNING ✅
frappe-bench-workers:frappe-bench-frappe-schedule        RUNNING ✅
frappe-bench-workers:frappe-bench-frappe-short-worker-0  RUNNING ✅
frappe-bench-workers:frappe-bench-frappe-long-worker-0   RUNNING ✅
If all services status running then your ERPNext install successfully on Ubuntu server.
Then check with
http://YOUR-SERVER-IP
Then open your ERPNext like below image.
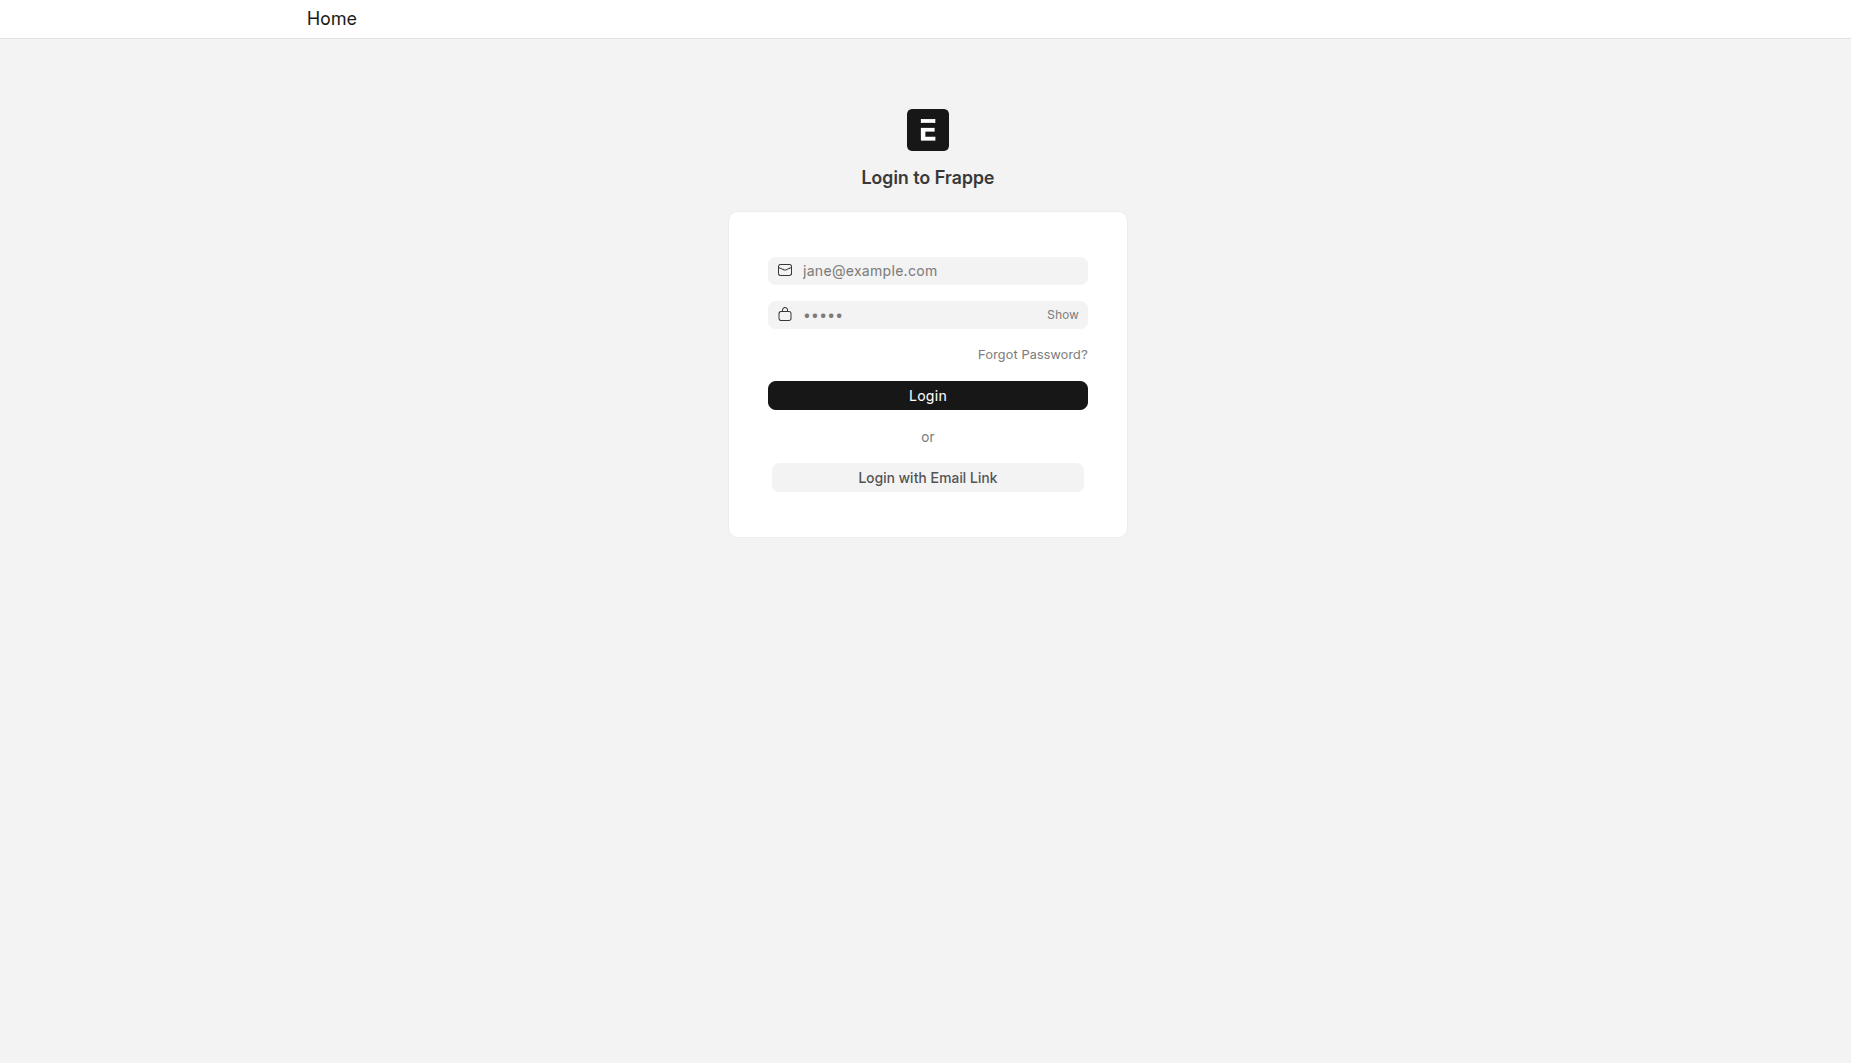
Here enter your username and password.
username: Administrator
password: your password
Then next step show option like.
Your Language:
Your Country:
Time Zone:
Currancy:
Enter according to your choice, then in the next step, enter your name, email address, and password. You will then finally get your ERPNext Home page.
