
Walk into any r/homelab or r/selfhosted thread and ask what people wish they did sooner. The top answer is always backups. It is never Kubernetes and it's definitely not 10GbE networking. It's always a reliable disaster recovery plan for when that aging SSD finally throws I/O errors or you accidentally run a docker compose down -v.
I have been there. You spend an entire weekend perfecting your Nextcloud or Vaultwarden setup, only to realize the only copy of your data lives on a single, aging Proxmox node.
Today we are fixing that. We are going to deploy Kopia to automate your homelab backups. It is a fast, secure, and open-source backup tool. We will run it behind Docker Compose, encrypt the snapshots locally, and push them offsite to S3-compatible storage to finally hit that 3-2-1 backup rule. You can use Cloudflare R2 or Backblaze B2 instead of S3.
Let's build a backup system that actually survives reality.
Why Kopia?
There is no shortage of backup tools like Restic, Duplicati, and UrBackup, but Kopia hits the sweet spot for homelabs for a few specific reasons.
Client-Side Encryption: Your data is encrypted before it ever leaves your server. If someone hacks your S3 bucket, all they get are scrambled, unusable chunks.
Deduplication: When a file is rewritten, Kopia only uploads the difference between the old file and the new file. This keeps storage costs cheap.
Compression: Zstd compression saves even more space on your cloud bill.
Web UI: It comes with a built-in browser UI. I love the terminal as much as the next sysadmin, but when everything is on fire and you need to restore a specific .env file quickly, a web interface is a lifesaver.
Fast: Written in Go, it handles thousands of small, annoying files like Nextcloud app data incredibly well.
The Prerequisites
Before we start building, make sure you have the following.
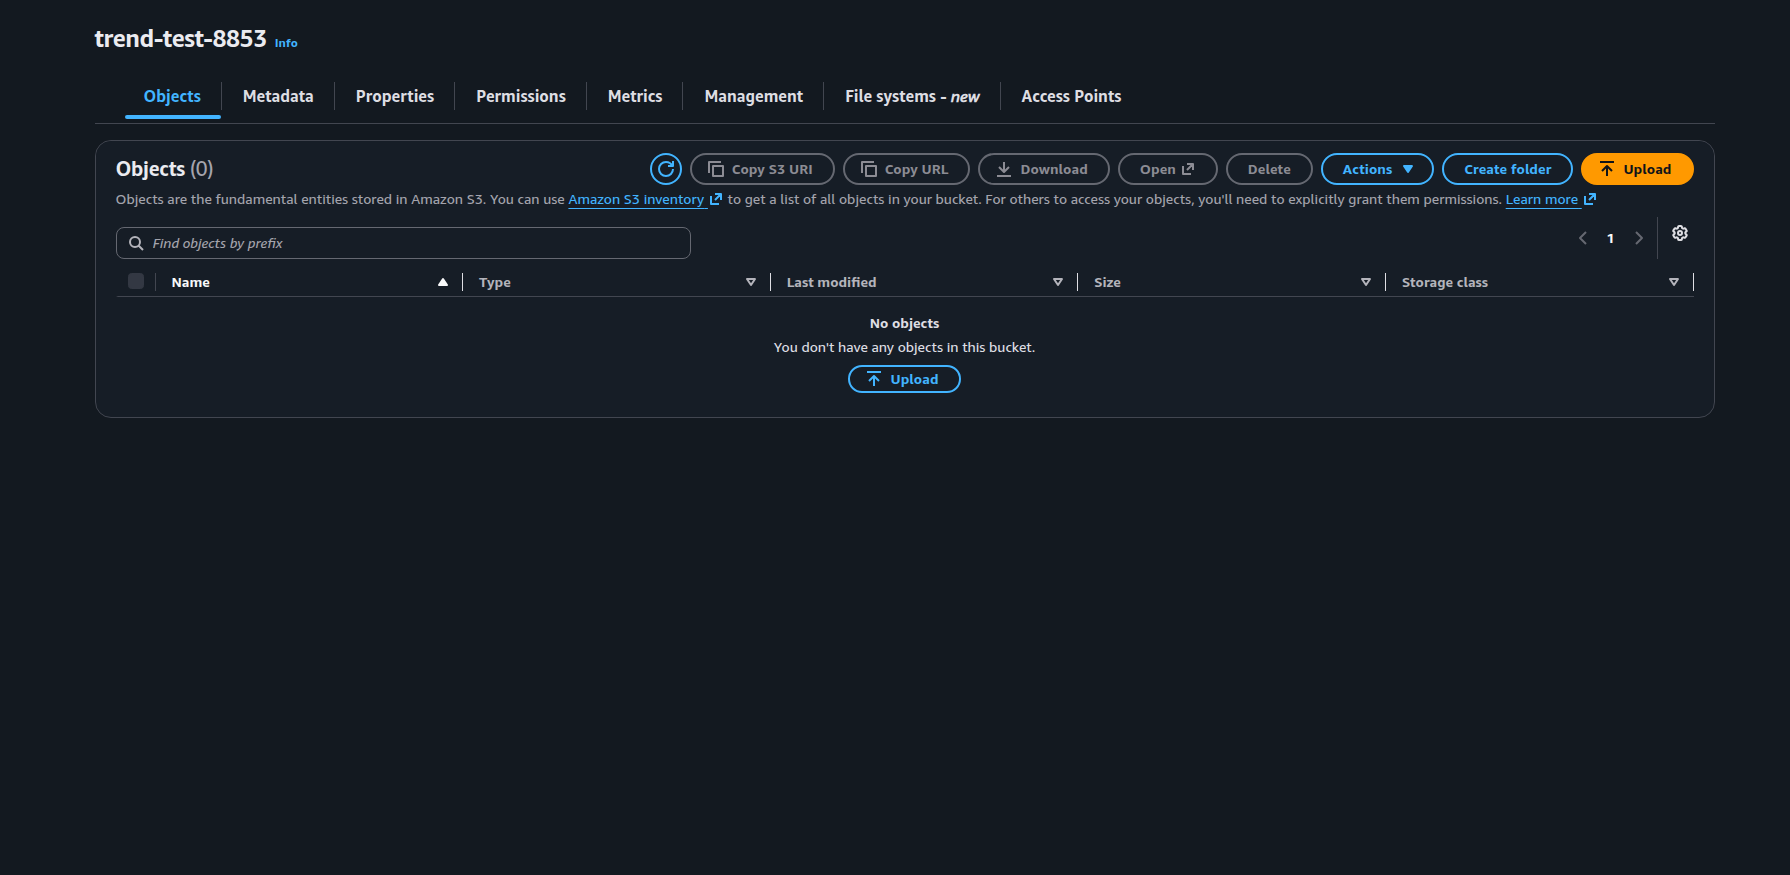
First, you need a Linux server running Docker and Docker Compose. An S3-compatible object storage bucket. AWS S3 works well, but for a homelab I highly recommend Cloudflare R2 or Backblaze B2. If you are building for business, then go with an S3 bucket. A directory with the data you actually want to back up. For this guide, I will assume your Docker stacks and app data live in /opt/stacks.
The Docker Compose Setup
We are going to run the Kopia Server container, exposing its Web UI so you can configure everything straight from your browser.
First, let's create a dedicated directory for Kopia and create a docker-compose.yml file.
sudo mkdir -p /opt/kopia
sudo chown $USER:$USER /opt/kopia
cd /opt/kopia
nano docker-compose.yml
Paste the code below into this file.
services:
  kopia:
    image: kopia/kopia:latest
    container_name: kopia
    hostname: kopia-server
    restart: unless-stopped
    ports:
      - "51515:51515"
    environment:
      - TZ=America/New_York # Change to your timezone
      - KOPIA_PASSWORD=my_super_secret_repo_password
    volumes:
      # Kopia's config and cache (Don't lose this!)
      - ./config:/app/config
      - ./cache:/app/cache
      - ./logs:/app/logs

      # The data you want to back up (Mount as Read-Only!)
      - /opt/stacks:/data/stacks:ro

    # Run the server on startup with a self-signed TLS cert
    command: >
      server start
      --address=0.0.0.0:51515
      --tls-generate-cert
      --tls-cert-file=/app/config/kopia.cert
      --tls-key-file=/app/config/kopia.key
      --server-username=admin
      --server-password=my_webui_password
      --insecure # Allows the Web UI to function without a reverse proxy initially
Then save the file.
Important notes on this Compose file:
First, this is the encryption password for your remote repository. Do not lose this password. In the file above, the command section stores your password, and you can change it. If you forget your password, your data may become garbage data.
We mount the host directory we want to back up (/opt/stacks) into the container at /data/stacks. Kopia reads only your source data. It physically cannot modify or delete active container files.
Set a secure server-password.
Bring the container up:
docker compose up -d
Connecting to the Web UI & Initializing the Repository
Now that the container is running, navigate to https://<your-server-ip>:51515.
Then log in using admin and the server-password you set in the compose file.
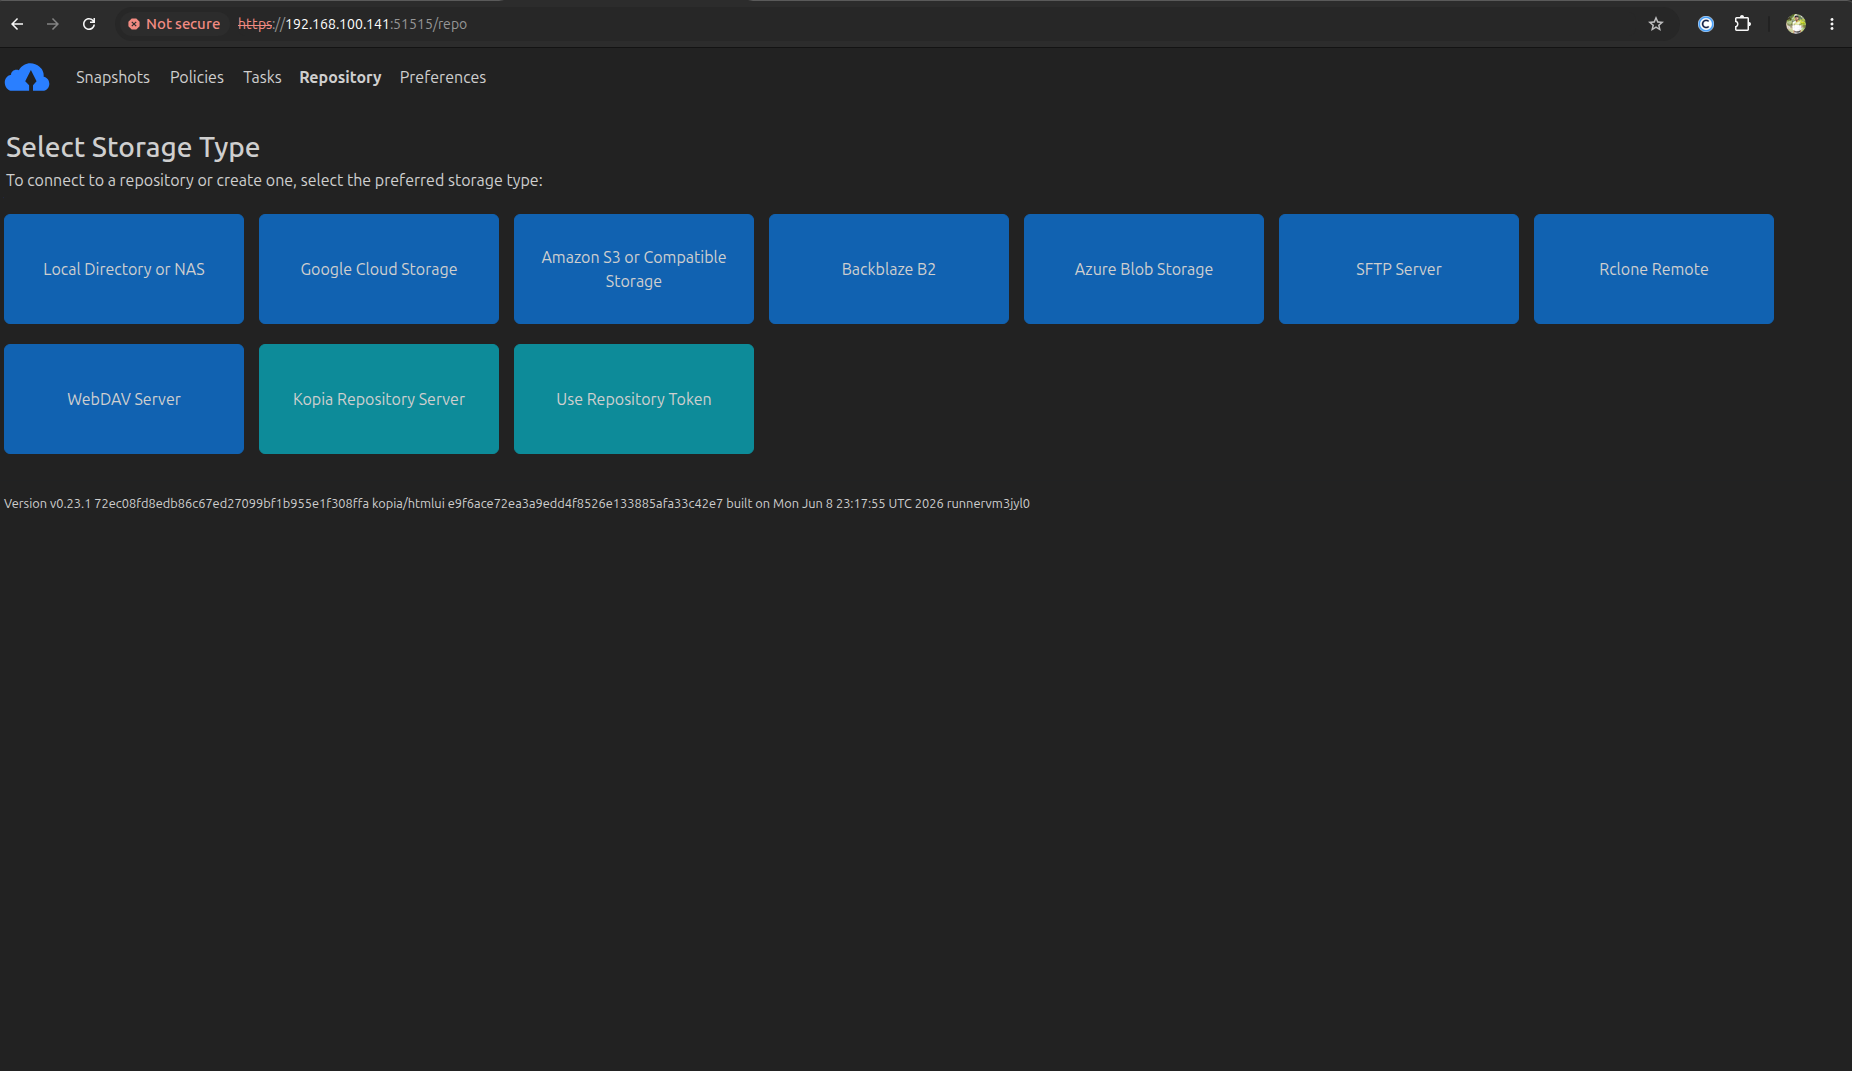
You are currently on the Select Storage Type screen. Now, you will connect Kopia to cloud storage. Select Amazon S3 or Compatible Storage.
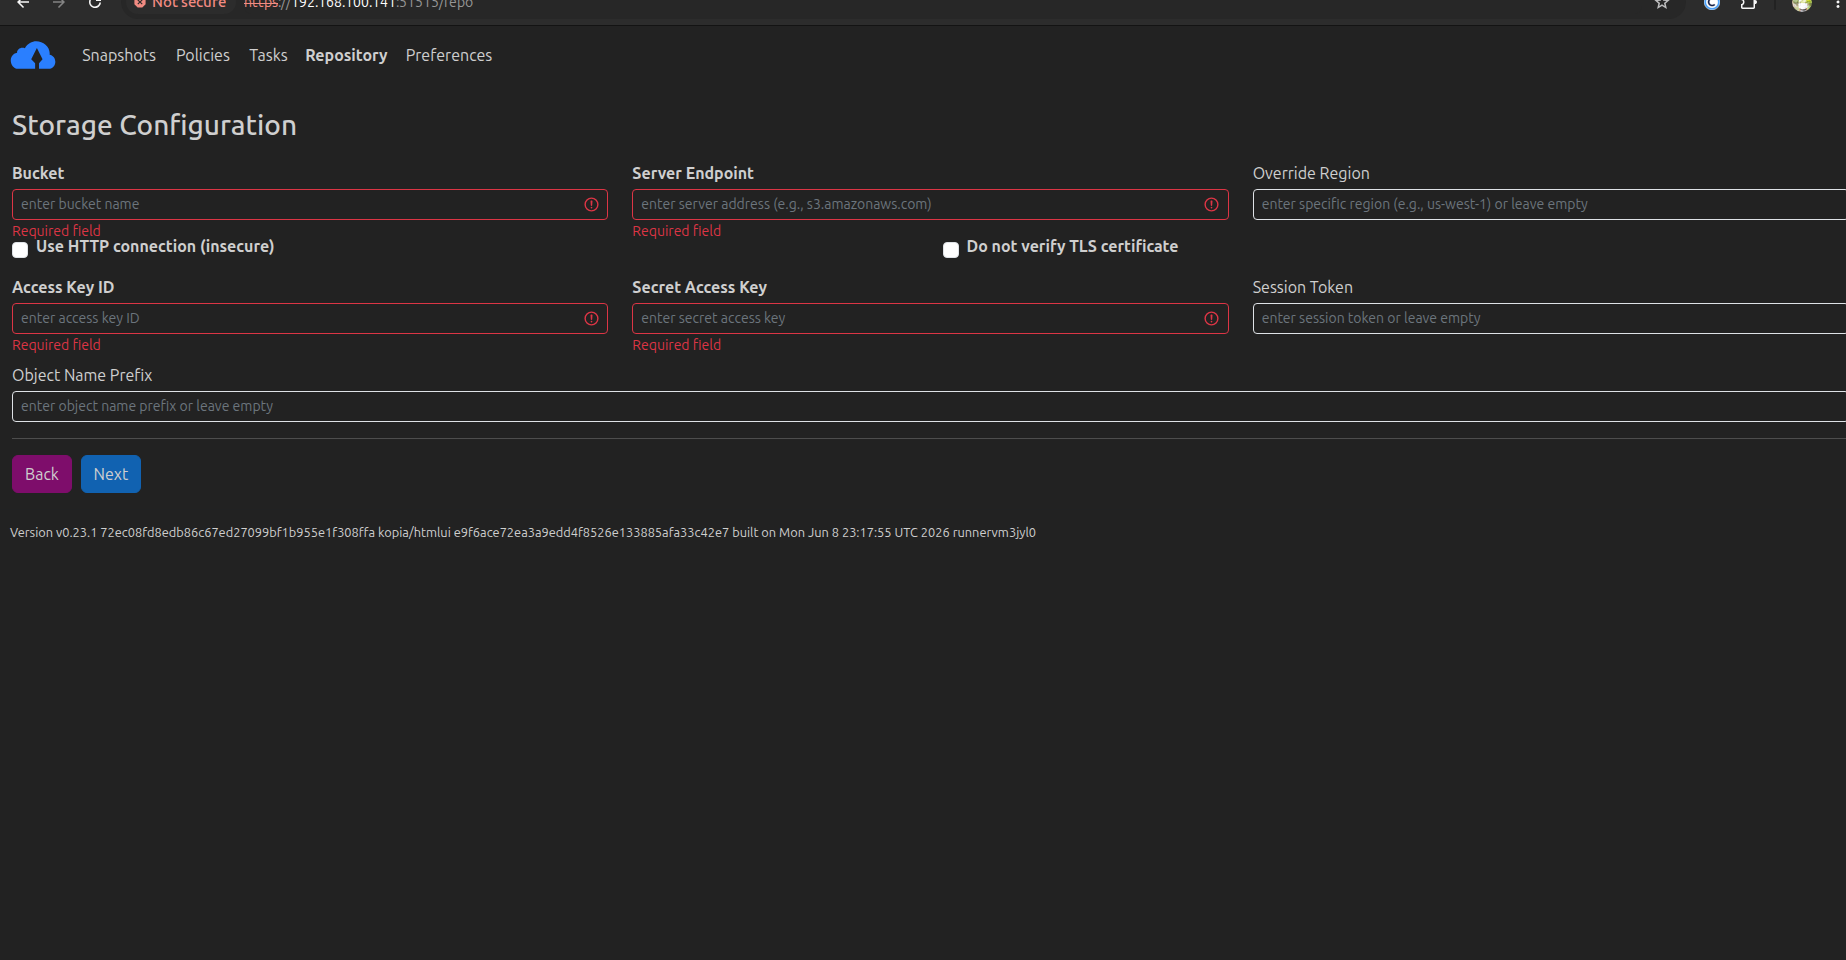
On the Storage Configuration screen, enter your bucket details:
Server Endpoint: Your S3 endpoint URL (e.g., s3.amazonaws.com or https://<account_id>.r2.cloudflarestorage.com).
Bucket: The exact name of your bucket.
Access Key ID & Secret Access Key: Paste your cloud provider credentials here.
Click Next.
Enter your Repository Password. This must perfectly match the KOPIA_PASSWORD variable from your docker-compose.yml.
Then, click Create Repository.
Kopia will take a few seconds to reach out to your S3 bucket, initialize the encryption keys, and set up its block structure.
Creating a Backup Policy & .kopiaignore
Now that Kopia is connected to your cloud storage, you need to tell it exactly what to back up.
In the Web UI, click over to the Policies tab and create a new policy for the directory path Kopia sees inside the container: /data/stacks.
The Ignore Rules
Even in routine use, you do not want to back up everything. Temporary files, massive media libraries, and endless .log files will just bloat your storage costs.Kopia supports .kopiaignore files which work exactly like .gitignore, but it's often easier to set global ignore rules directly in the UI under your policy.
Recommended Ignore Patterns:
**/cache/
**/.cache/
**/logs/
**/*.log
**/tmp/
**/node_modules/
Scheduling
Click the Scheduling tab in your policy to set how Kopia should run. For homelab configs, every 12 hours or daily is usually sufficient.
Retention
Click the Retention tab to set how long to keep your snapshots. A standard, sane setup looks like this:
Keep latest: 10
Keep hourly: 48
Keep daily: 7
Keep weekly: 4
Keep monthly: 6
Keep annual: 1
Kopia will automatically prune old snapshots that fall outside these rules during its background maintenance runs, keeping your cloud storage bill in check.
The Pre-Backup Script
If you are backing up live databases by letting Kopia copy their Docker volumes, you are playing with fire. Copying a live database file can sometimes result in backing up corrupted or inconsistent data.
You must dump the databases before Kopia runs. The easiest way to handle this is a simple bash script on your host machine, triggered via cron, to dump the SQL to a directory that Kopia does back up.
#!/bin/bash
# dump-dbs.sh

# Dump Postgres from a docker container
docker exec my_postgres pg_dumpall -U myuser > /opt/stacks/db_dumps/postgres_dump.sql

# Dump MariaDB
docker exec my_mariadb sh -c 'exec mariadb-dump --all-databases -uroot -p"$MARIADB_ROOT_PASSWORD"' > /opt/stacks/db_dumps/mariadb_dump.sql
Schedule this script to run 30 minutes before your Kopia backup schedule. Kopia will then compress and encrypt those clean SQL dumps along with your standard compose files.
Test Your Restores
You don't discover whether you have backups when you configure them. You discover it when you need a restore. Let's prove the system works.
Go to the Snapshots tab in the Kopia UI. Click Snapshot Now next to /data/stacks to force a manual backup. Once it finishes, click the /data/stacks link under the Path column, then click the timestamp of the snapshot. A file browser will open. Browse through your files, find a docker-compose.yml or a text file, and click the download icon next to it.
For verification, open the downloaded file locally.
If the file opens and the text matches, congratulations — your homelab is now resilient.
Conclusion
By combining Docker Compose, Kopia, and cheap S3 storage, you've built an enterprise-grade, deduplicated, encrypted, and automated offsite backup system. Now your data automatically backs up on your on-premises server and S3 bucket.
