
VMware ESXi is a bare metal hypervisor used to create and run multiple virtual machines. It provides multiple virtual servers to run on a single physical host, reducing physical space, saving electricity, and making hardware maintenance easier. VMware ESXi has two types of versions: free and paid. It is easy to use. If you are setting up a home lab or enterprise server, this guide will help you with how to download the ISO image and install VMware ESXi.
Download the ESXi ISO
For installing ESXi, you first need the ISO image. First, go to the BROADCOM home page and on the top right side, find the Support Portal option, click on it, and when a new option opens, click on Register. Then click on the software section and go to VMware Cloud Foundation, then click on My Downloads. In My Downloads, the free version will be shown, and if you want to download the enterprise version, search for vSphere Hypervisor. When you search, it will show too many results, but select "VMware vSphere Hypervisor." Then select the latest version of ESXi and download the ISO image.
Create a Bootable USB Installer
For creating a bootable USB drive, first write your ISO image to the USB drive. A popular tool for creating a bootable USB is Rufus, so we will go with Rufus.First, download Rufus and open it. Then insert your USB flash drive. In your device, make sure the USB drive is selected. For the bootable option, in the boot section, select your ISO image which you downloaded. In the partition scheme, select MBR. Then click on START.
The Installation Process
Once the installation starts, on the welcome screen, press Enter to continue. Then a second prompt will open for the End User License Agreement (EULA). Read the agreement and press F11 to accept and continue.
In the next step, select the disk to install or upgrade, then press Enter to continue. Then the next step's options will open as shown below.
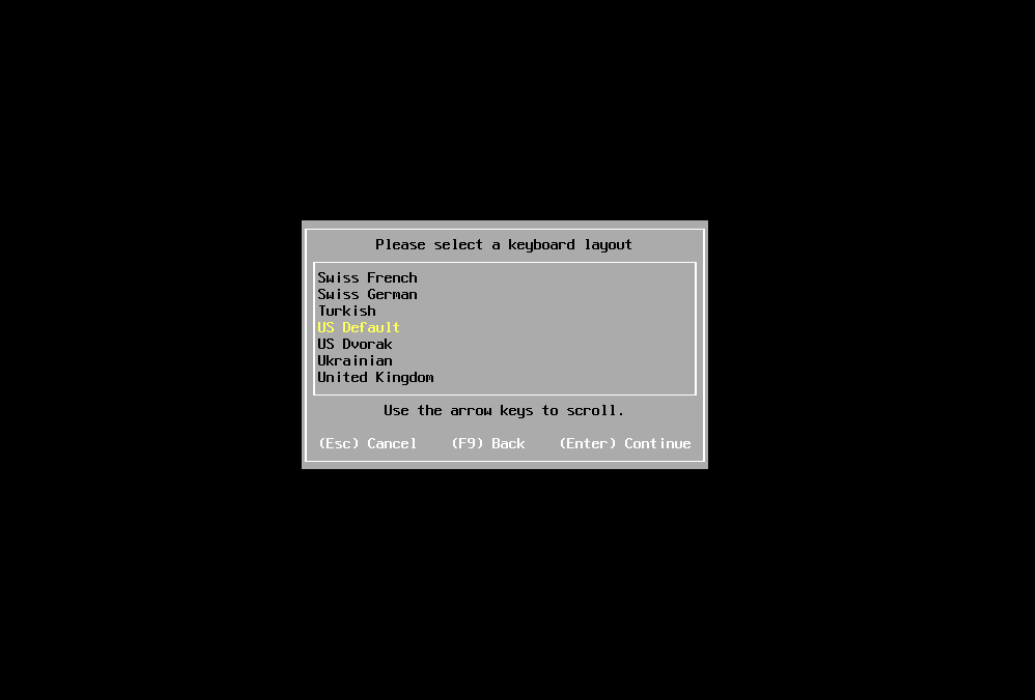
Here, go with US Default and press Enter to continue. Then in the next step, set the Root Password, which is required when you log in to the VMware ESXi home page.
Then confirm the installation by pressing F11 and continue. A page will then open indicating that the installation is complete and to remove your installation medium. Remove your USB drive, and after removing it, press Enter to continue.
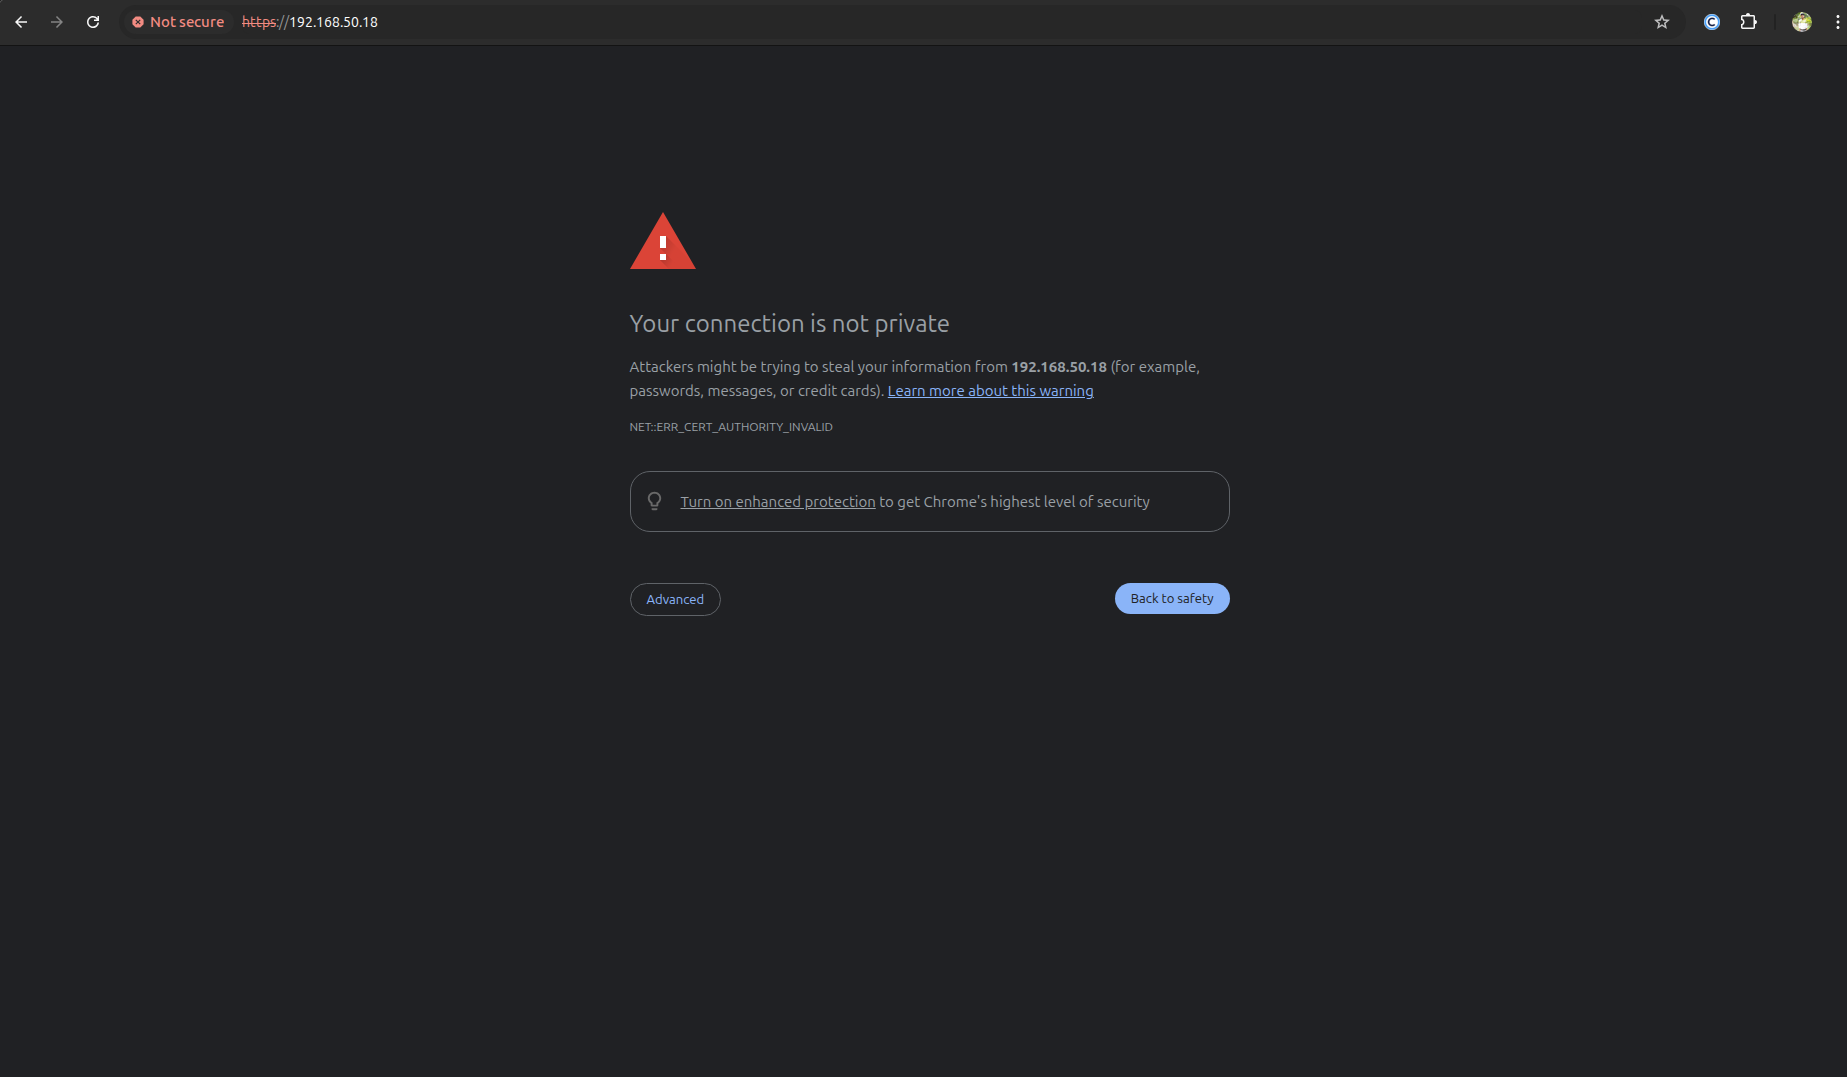
Wait a few minutes and your VMware ESXi installation will be complete. To access your VMware ESXi, note your IP address, go to your browser, and enter the address as shown below.
http://YOURIPADDRESS
Then it will open as shown below.
Then your home page will open as shown below.
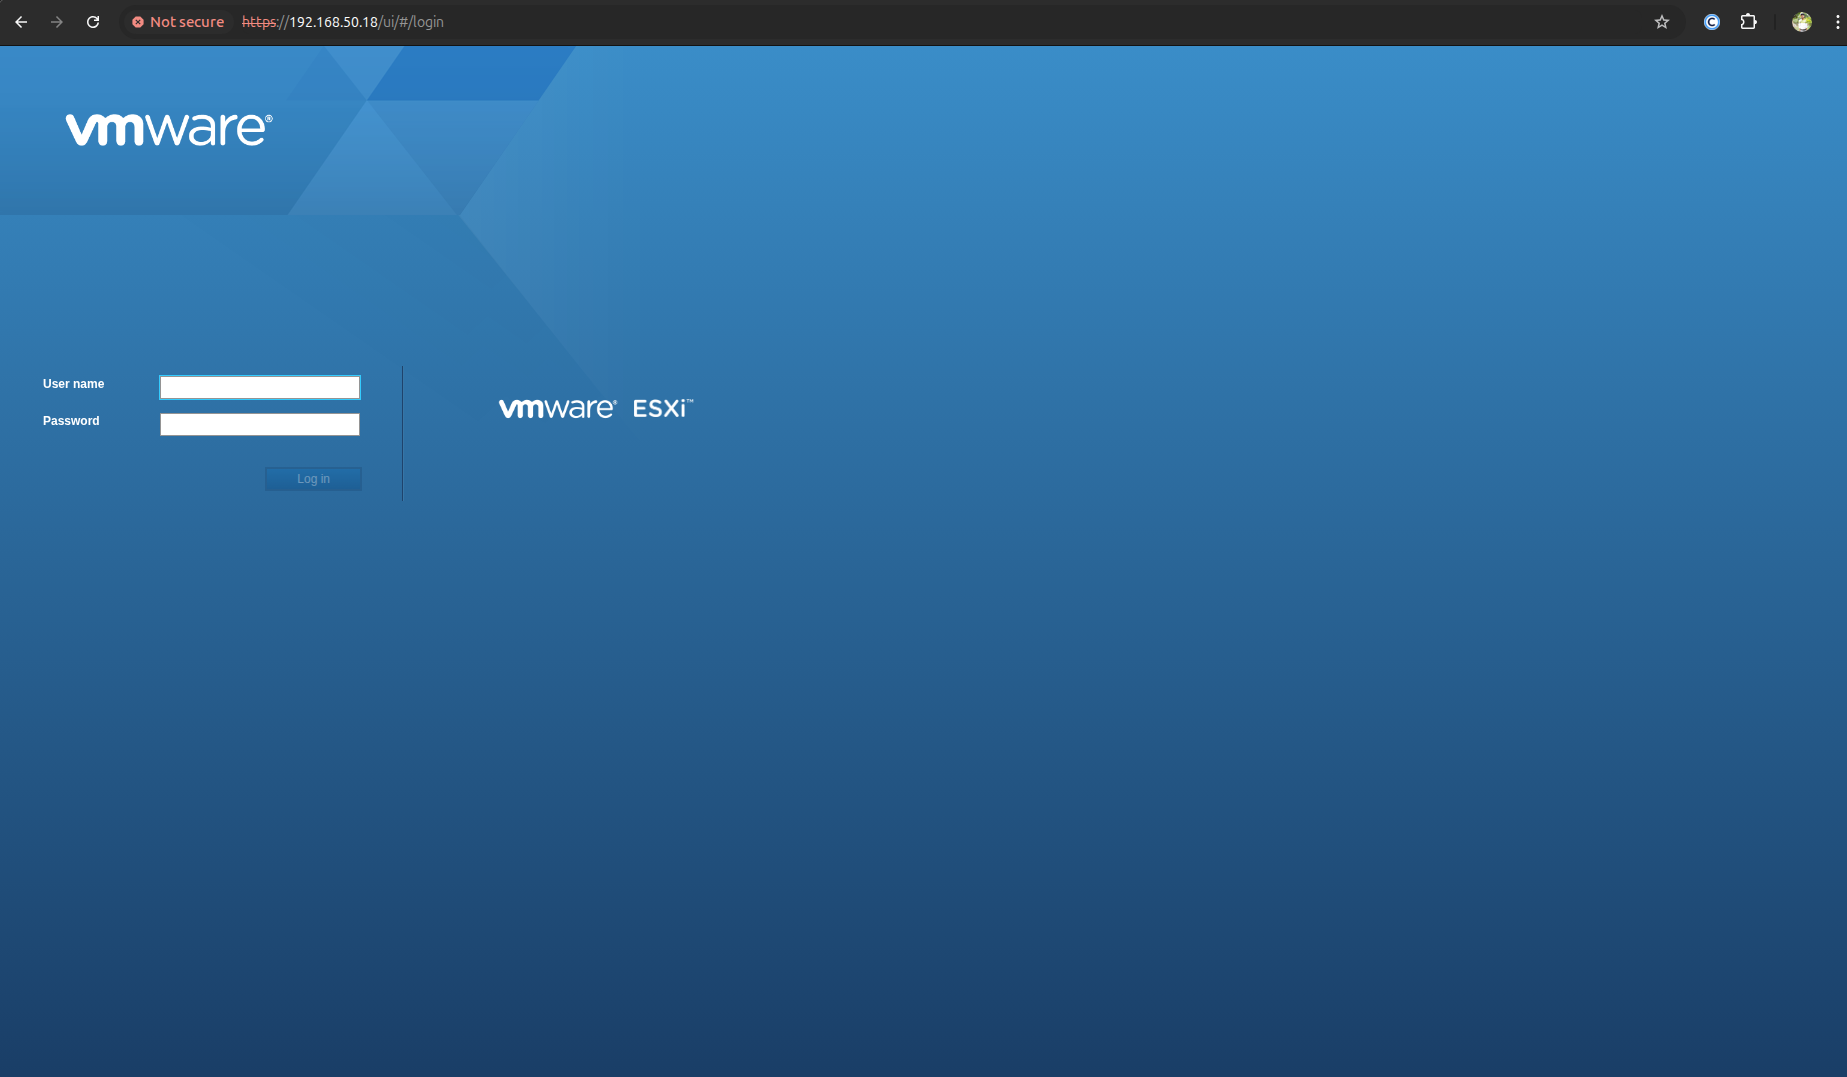
Here, enter your username and password, and your final VMware ESXi home page will open.
Then finally, our VMware ESXi is installed successfully.
