
Axelor ERP is a modern open-source Enterprise Resource Planning (ERP) solution built on Java. It covers a wide range of business modules like CRM, HR, Production, Project Management, Accounting, and many more. Axelor is free to download and use without license fees for the core software. We will walk you through the complete installation of Axelor v8.2.6 on a fresh Ubuntu 24.04 LTS Server.
System Requirements
- OS : Ubuntu 24.04 LTS
- RAM : Minimum 4GB
- Storage : Minimum 20GB
- CPU : Minimu 2 core
Update Your System
The first and most important step before installing any software is to update your system packages. Using the following command, we keep our system up to date.
sudo apt update && sudo apt upgrade -y
Install Java 21
Axelor ERP is a Java-based application and requires Java 21 to run. Ubuntu 24.04 provides OpenJDK 21 directly from its official repositories. So we install OpenJDK 21 using the below command.
sudo apt install -y openjdk-21-jdk
Verify:
java -version
Expected Output:

Install PostgreSQL
PostgreSQL is the database used in Axelor. Let us install it from the Ubuntu official repositories.
sudo apt install -y postgresql postgresql-contrib
After installation, we start and enable PostgreSQL.
sudo systemctl start postgresql
sudo systemctl enable postgresql
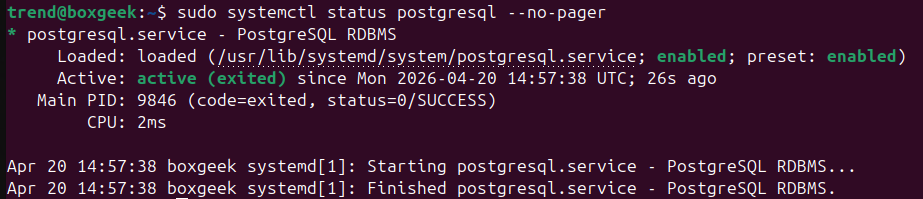
Verify:
sudo systemctl status postgresql --no-pager
Expected Output:
Create PostgreSQL Database and User
Now we need to create a dedicated database and user for Axelor ERP. Here we switch to the PostgreSQL system user.
sudo -u postgres psql
In this step, we create a user and their password. You can replace Your Password here with axelor123.
CREATE USER axelor WITH PASSWORD 'axelor123';
CREATE DATABASE axelor OWNER axelor;
GRANT ALL PRIVILEGES ON DATABASE axelor TO axelor;
\q
Verify:
sudo -u postgres psql -c "\l" | grep axelor
Expected Output:

Create Tomcat System User and Directory
To install Axelor on an Ubuntu server, we add the tomcat user and user directory.
sudo useradd -m -U -d /opt/tomcat9 -s /bin/false tomcat
Create the Tomcat installation directory.
sudo mkdir -p /opt/tomcat9
Download and Install Apache Tomcat 9
Axelor ERP v8.2.6 requires Apache Tomcat 9. We move to tmp and download Apache Tomcat 9.
cd /tmp

wget https://archive.apache.org/dist/tomcat/tomcat-9/v9.0.102/bin/apache-tomcat-9.0.102.tar.gz
Verify:
ls -lh /tmp/apache-tomcat-9.0.102.tar.gz
Expected Output: -rw-rw-r– 1 trend trend 13M Mar 3 2025 /tmp/apache-tomcat-9.0.102.tar.gz
Now extract and install Tomcat:
sudo tar -xzf apache-tomcat-9.0.102.tar.gz -C /opt/tomcat9 --strip-components=1
Set Permissions:
sudo chown -R tomcat:tomcat /opt/tomcat9
sudo chmod -R 750 /opt/tomcat9
sudo find /opt/tomcat9/bin/ -name "*.sh" -exec chmod +x {} \;
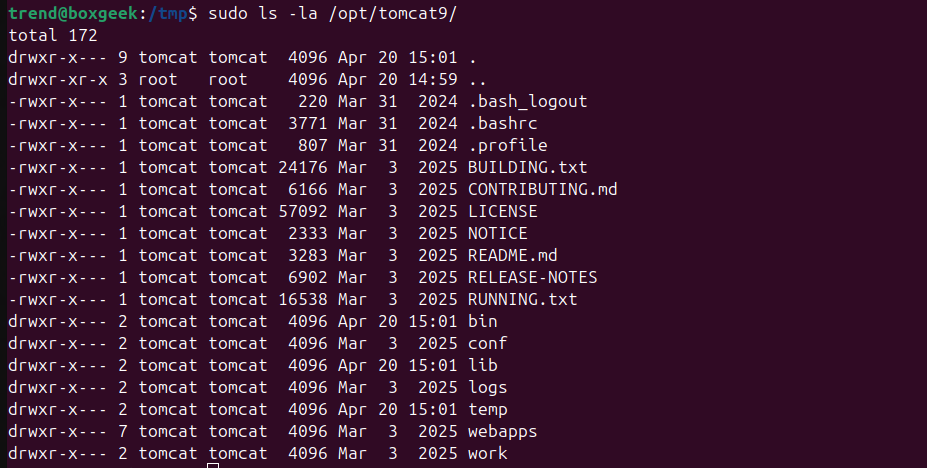
Verify:
sudo ls -la /opt/tomcat9/
Expected Output:
Download Axelor ERP WAR File
The Axelor ERP application is distributed as a WAR (Web Application Archive) file. We download it from GitHub using the below command.
cd /tmp

wget https://github.com/axelor/axelor-open-suite/releases/download/v8.2.6/axelor-erp-v8.2.6.war
Verify:
ls -lh /tmp/axelor-erp-v8.2.6.war
Expected Output: 254M axelor-erp-v8.2.6.war
Deploy the Axelor WAR File
Now we will deploy the Axelor WAR file. First, we clean up the default Tomcat web applications using following commands.
sudo rm -rf /opt/tomcat9/webapps/ROOT
sudo rm -rf /opt/tomcat9/webapps/docs
sudo rm -rf /opt/tomcat9/webapps/examples
sudo rm -rf /opt/tomcat9/webapps/host-manager
sudo rm -rf /opt/tomcat9/webapps/manager
Copy the Axelor WAR file to the webapps directory:
sudo cp /tmp/axelor-erp-v8.2.6.war /opt/tomcat9/webapps/axelor.war
Set Ownership:
sudo chown tomcat:tomcat /opt/tomcat9/webapps/axelor.war
Verify:
sudo ls -lh /opt/tomcat9/webapps/
Expected Output:

Create Axelor Configuration File
Axelor ERP requires a configuration file called application.properties that tells it how to connect to the database and where to store uploaded files. So we create the application.properties config file and edit it.
sudo mkdir -p /opt/tomcat9/conf/axelor
sudo mkdir -p /opt/tomcat9/attachments
Create and edit config file
sudo nano /opt/tomcat9/conf/axelor/application.properties
Add the following content to the file:
# Application
application.name = Axelor ERP
application.description = Axelor ERP
application.version = 8.2.6
application.author = Axelor

# Database
db.default.driver = org.postgresql.Driver
db.default.url = jdbc:postgresql://localhost:5432/axelor
db.default.user = axelor
db.default.password = axelor123

# JPA
javax.persistence.jdbc.driver = org.postgresql.Driver

# Storage
file.upload.dir = /opt/tomcat9/attachments

# Logging
logging.level.root = ERROR
logging.level.com.axelor = INFO
Save file: Ctrl+X → Y → Enter
Ownership Fix:
Now set the correct ownership for the new directories:
sudo chown -R tomcat:tomcat /opt/tomcat9/attachments
sudo chown -R tomcat:tomcat /opt/tomcat9/conf/axelor
Create Tomcat Systemd Service File
To install Axelor ERP on an Ubuntu 24.04 server, we manage Tomcat as a proper system service. So here we create the tomcat9 service using the below command.
sudo nano /etc/systemd/system/tomcat9.service
Add the following content:
[Unit]
Description=Apache Tomcat 9 - Axelor ERP
After=network.target postgresql.service
Wants=postgresql.service

[Service]
Type=forking
User=tomcat
Group=tomcat

Environment="JAVA_HOME=/usr/lib/jvm/java-21-openjdk-amd64"
Environment="CATALINA_HOME=/opt/tomcat9"
Environment="CATALINA_BASE=/opt/tomcat9"
Environment="CATALINA_PID=/opt/tomcat9/temp/tomcat.pid"
Environment="JAVA_OPTS=-Xms512m -Xmx2g -XX:+UseG1GC"
Environment="CATALINA_OPTS=-Daxelor.config=/opt/tomcat9/conf/axelor/application.properties"

ExecStart=/opt/tomcat9/bin/startup.sh
ExecStop=/opt/tomcat9/bin/shutdown.sh

Restart=on-failure
RestartSec=10

[Install]
WantedBy=multi-user.target
Save file: Ctrl+X → Y → Enter
Enable and Start Tomcat Service
Now we enable and start the Tomcat service using systemd.
sudo systemctl daemon-reload

sudo systemctl enable tomcat9
sudo systemctl start tomcat9
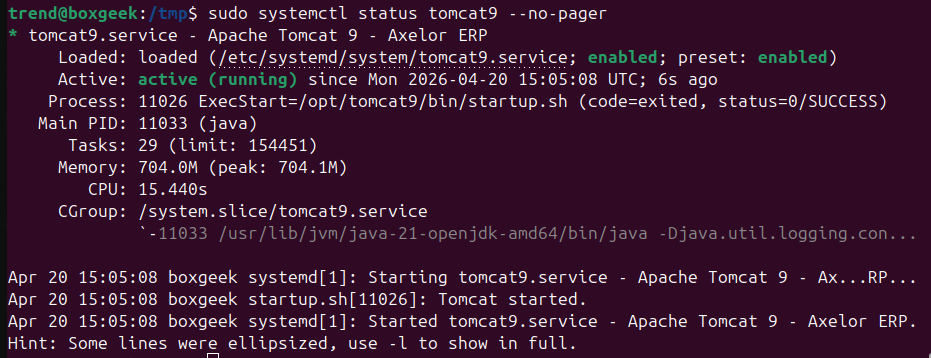
Verify:
sudo systemctl status tomcat9 --no-pager
Expected Output:
Monitor the Installation Progress
The first time Axelor starts, it needs to perform initial setup tasks such as extracting the WAR file, creating database tables, and installing all modules. This process takes approximately 10 to 15 minutes.
sudo tail -f /opt/tomcat9/logs/catalina.out
After entering the above command, wait until you see logs like the image below.
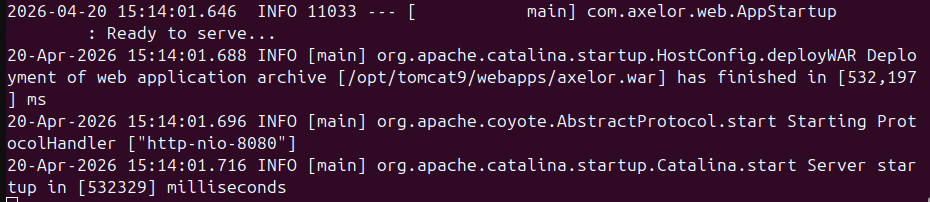
When you see something like this on your terminal, the installation is complete. Press Ctrl+C to stop following the log.
Access Axelor ERP in Your Browser
Once the installation is complete, open your web browser and navigate to:
http://YOUR-SERVER-IP:8080/axelor
Then open your Axelor as shown in the image below.
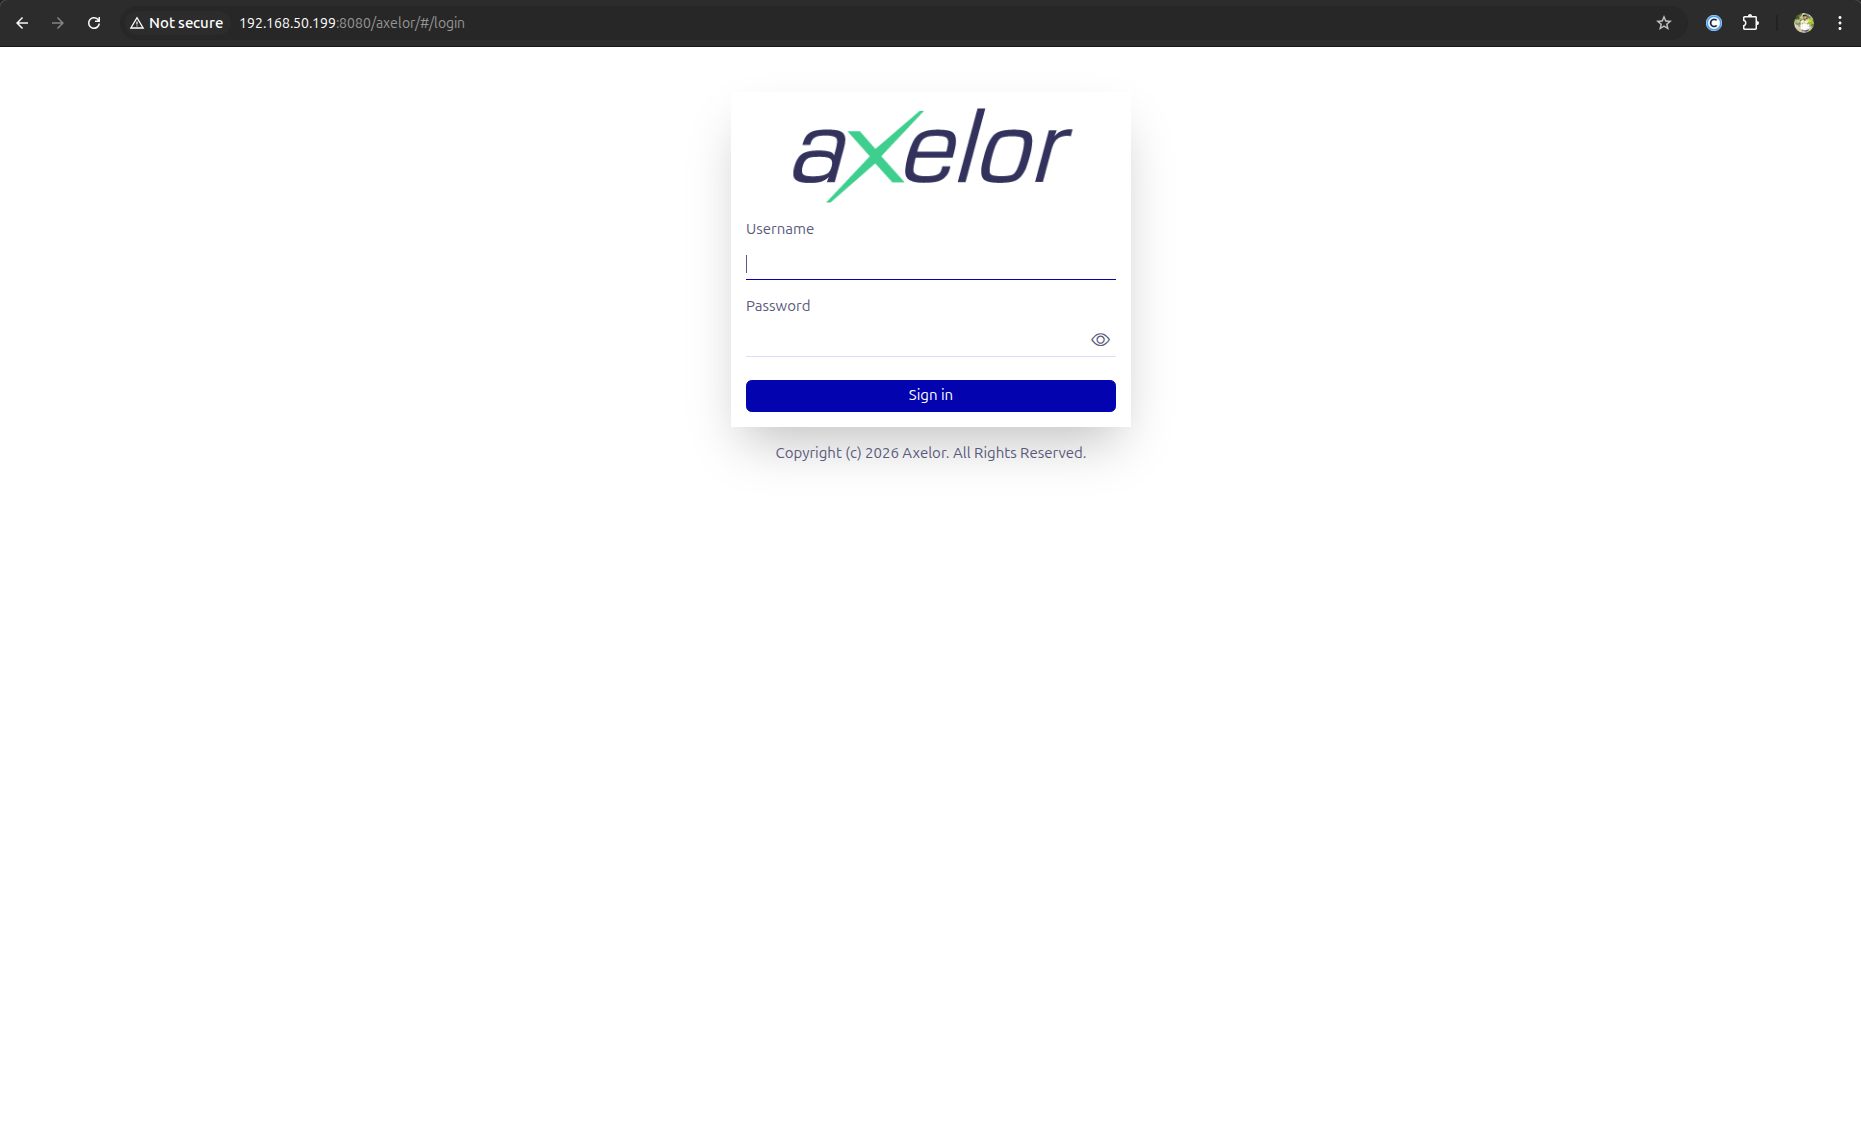
Default Login Credentials:
Enter your username Admin and password Admin. After logging in, you can change your password.
Verify Auto-Start After Reboot
One of the most important things to verify in a production setup is that the services start automatically after a server reboot.
sudo reboot
Wait 5 minutes for the server to reboot and all services to start, then check the status.
sudo systemctl status tomcat9 --no-pager

sudo systemctl status postgresql --no-pager
Both service statuses must show active and running.
Now our Axelor v8.2.6 is installed on a fresh Ubuntu 24.04 LTS Server.
